So, lots has been going on with the Camaro.
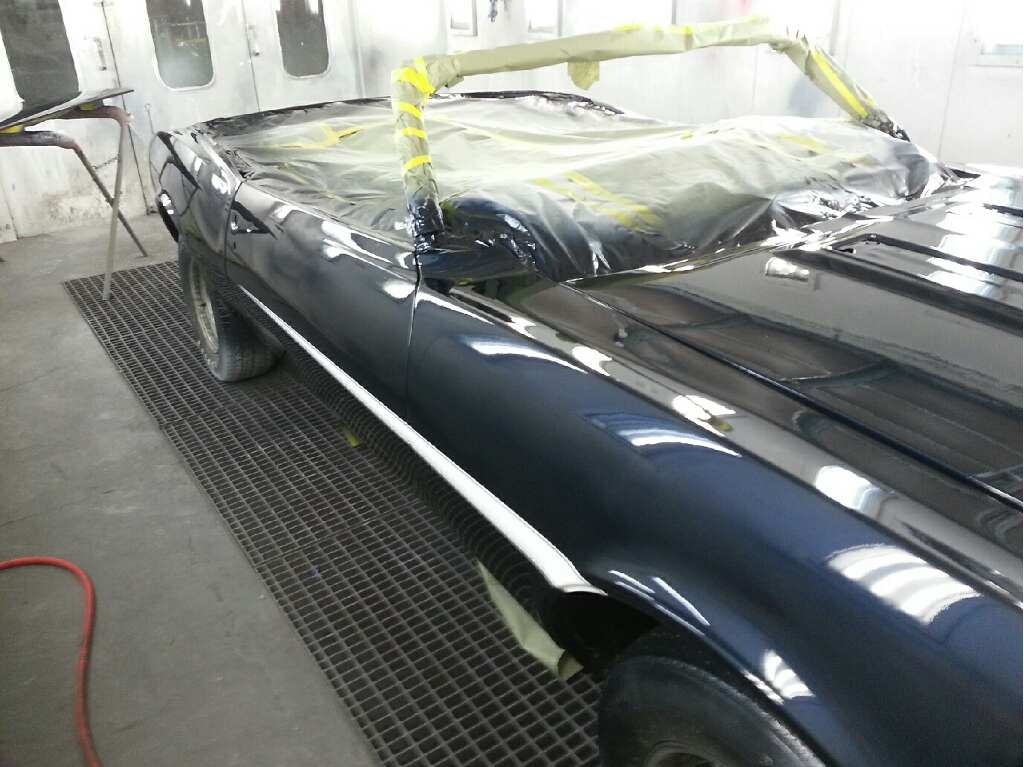
Back at the end of August, the Camaro took a little trip – sent to an undisclosed location for a little bit of attention that we couldn’t give it here. That work is essentially finished:
So now it’s time to reassemble the car. This means all kinds of new parts, naturally. One “part” in particular was installed this weekend, the new suspension from Speed Tech. We selected the Speed Tech torque arm rear suspension not as much for it’s ultimate handling as much as for its adjustability. We should be able to dial this car in for a balanced but aggressive driving experience, without it being too harsh or difficult to manage.
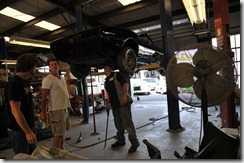
Luckily for Michel and I, the Big Cheese at the Undisclosed Location knew we were planning this install, and offered up not only a 2 post lift at his disposal, but he was foolish enough to invest his Saturday in the effort. I’m confident he regretted that decision late Saturday afternoon.
Not too difficult, really. Old rear comes out – Axle, springs, shocks, brake lines, all of it. New bits get welded in place onto the frame rails in the back of the car. The old axle has the factory spring perches removed, and a couple of slight modifications to the 3rd member housing. Then it all gets bolted in. Easy-peasy!
Naturally, we started out by standing around and staring at it. Looked at the “instructions,” as provided by Speed Tech, which are really just a set of measurements. Simple enough, let’s get going. This is about the time I made my exit. Went off for my massage – hey! I had booked that appointment weeks ago. I wasn’t going to miss it.
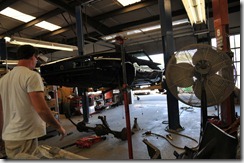
While I was out and about, Michel and Jon got the rear end out of the car. Apparently they spent a fair amount of time coaxing it out, before taking the plasma cutter to the shackles and just getting it out of there. Being sensible sorts of fellows, they also removed the gas tank, since we’d be welding up in there. Sounds boring, taking away the thrills and danger, but that was their choice!
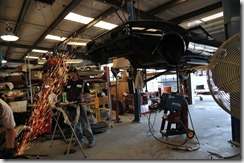 So, here you can see some sparks. Those went on for a Loooooong Time. Long Time. Long. Using a cutoff wheel and grinder, we got the old spring perches off the rear end housing. Also pulled the cover off the diff, so we could pull the axles, while we had the thing on the ground, to remove the old drum brake setup in preparation for the new disc setup.
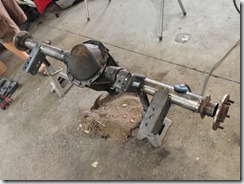
Here’s the factory 12 bolt rear. Here you can see where we removed the original drum brakes, cut off the spring perches, and tacked on the new mounts for the Speed Tech suspension. Cutting those stupid brackets off was a PAIN. Next time, I’ll recommend just buying a new housing!
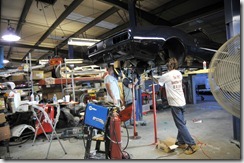
In this shot, we’ve got the rear back in the car, and we’re getting the various links in place, and the coilovers (minus the coils, to make it easier to mock up. It all went in pretty easily, really. A lot of measuring and a bit of fiddling, but no real mistakes, and the parts are very high quality, so they fit like they should All in all, quite pleasing.
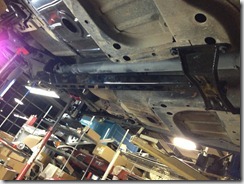
Here’s a not very good camera phone shot of the new setup. You can see the replacement convertible floor brace, with the torque arm attached. That torque arm runs to the rear of the car, and is bolted to the differential housing at the front and rear of the housing, with allowances to adjust the pinion angle based on final drive height.
And, of course… Time lapse!

