
Well, internet web site viewer-person, this particular project is drawing steadily nearer its conclusion. It’s a regular diet of small projects now, buttoning up various elements, and finishing up our punch list (just barely faster than we’re adding to it!)
Put the last window lift motors in, and got the windows pretty much adjusted – they’ll need tweaking when the weatherstripping goes in, but they are close for now. Then we tackled the top frame – it’s been media blasted and powder coated, so all we had to do was reinstall it, and the new lift cylinders. Which we did, remarkably easily. So easily, that I’m now remarking on that level of ease.
“Wow, that was pretty easy – I think it took less time to reinstall than it did to remove.”
It all just dropped back in. We got the pump reinstalled, and the system refilled with fluid, and it functions as designed. Neato!
I’ve probably got a picture of this, or something, but I can’t find it now. I’ll ask Michel to send me one, and amend this post later.
Meanwhile, I’ve also gotten the harness made for the hidden audio system – you’ll have to wait to see that when I install it all, but it’s pretty neat, if I do say so myself. I will share the modifications so far to the factory dash speaker – I took it out, carved it up and welded in a new flat bit of steel that I’ll be cutting out for a pair of 4” speakers up there. Because of the way it mounts (clamped in place), I found it easier to reuse this as a frame, rather than try to fit something else. Also, this way I’m only ruining the old speaker, and not hacking up the dash… Observe the majesty of my marvelous welding skills!
 |
 |
| The factory speaker, looking a little worse for wear. | Marked it up. |
 |
 |
| Hacked it up. | And welded in a new flat mounting plate. |
Speaking of the convertible top (I was, earlier, up there…) one area that always irks me a bit about old convertibles is the top motor wiring and switch. Generally, there’s a 12ga wire that runs to the battery, into a circuit breaker, into the passenger compartment to the switch, and from there to the motor. Obviously, this works, but the switches often fail or get crusty because of the high current they’re switching, and the wiring is just essentially tacked on at the factory for the option.
On this particular car, since we’ve moved the battery to the trunk, we’d be essentially running wires all the way  AROUND the car to get back to the motor. So, I made an improvement. I disconnected and removed the engine compartment wiring, and left only the switch and it’s power pigtail under the dash. I then provided power to the switch from the key on circuit in the fuse panel, with a 1A fuse. This now sends 12V back to the motor as before, but at a very low amperage ( the factory breaker for the convertible motor is 20 or 30A!)
This voltage now goes to a snazzy new relay setup I whipped up.
See? Nice, eh? Power feed from the nearby battery in the trunk makes 12v available to the relays, that are then energized by the factory top switch, sending the full current to the top motor. Plugs into the factory harness, and works like a charm. Satisfying.


I also (carefully!) cut holes in the top plate of the forward part of the console for the window switches, and made and installed a little under dash panel for the 2 momentary pushbuttons that control the gauge cluster functions.


That brings us to today, March 24, 2013. Last weekend, we putted the car around the literal block, just to see what might fall off or explode. A little fire, but nothing fell off after that trip, but the motor was running very poorly. We brought her back in, and tightened up (again) the header flanges, to cure the rapid fire popping in the exhaust (sucking in atmosphere at that junction isn’t a good thing) and static adjusted the valves. We also took a few minutes to swap in the new HEI conversion distributor, and new plug wires. Fun!
Did some more adjustment on the hot idle today, along with the mixture. Needs some tweaking on the valve adjustment, but it feels pretty good for now.
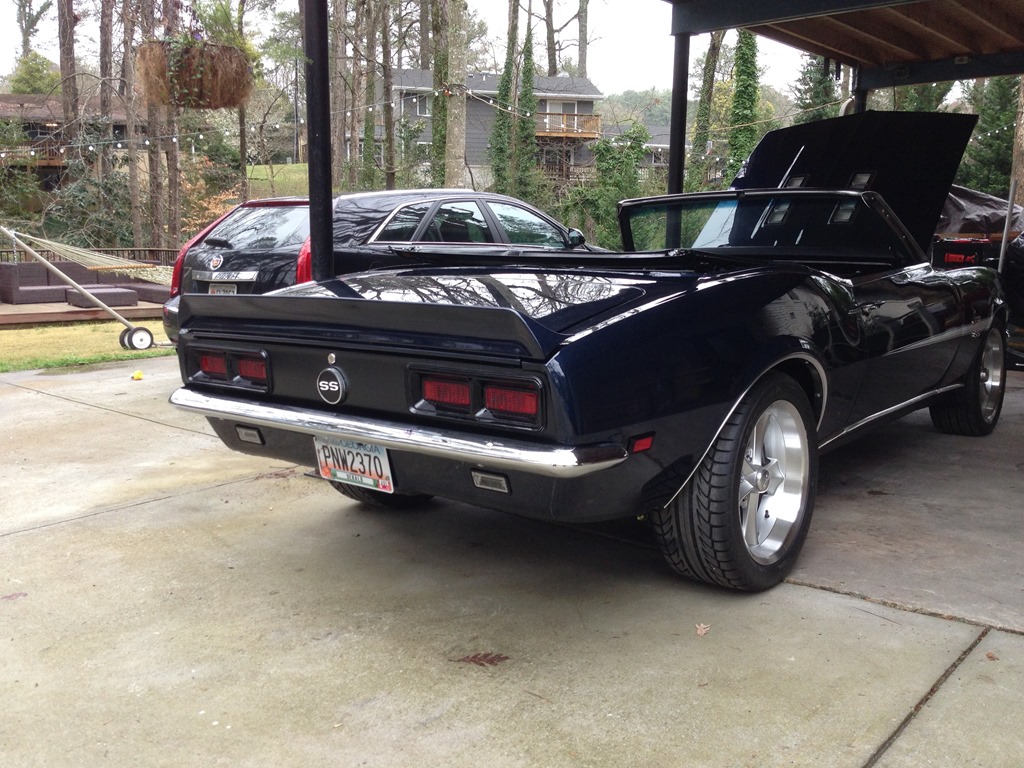
So, today, we bolted on the license plate and a couple of seatbelts, and for the first time in who knows how many years, the Camaro is road legal. Snazzy.

Then we took a drive. A pretty much entirely uneventful drive. This kind of drive is pretty nerve-wracking, knowing that pretty much every moving part of the car has been on and off and on the car in the last 4 months. Who knows what might go wrong, but nothing did.
We drove for probably 45 minutes or so, cautiously working up to highway speeds. Brakes feel really good, and the suspension is tight but not at all uncomfortable – the SpeedTech setup was the right choice, on that front. The alignment is darned close, for a driveway job – the fastrax caster/camber gauge, and a couple of alignment plates made that a 10 minute job. We’ll get it on a 4 wheel rack soon and get it dialed in the rest of the way.
The only real disappointment is that the transmission (TH400) seems to lack first gear. Sigh. Oh, well. Pulls strong from 2nd, but the 2-3 shift is kind of weak as well. Have to dig into that next, I suppose.
Tomorrow, if the weather holds, we’re going to drive all the way across town to the Undisclosed Location to get the front fenders tweaked a bit, and the paint touched up, then next week it’s off to the upholstery shop to have the rest of the soft bits reinstalled, then it really will be down to the final fiddly bits! Whew. Fun.