Long ago and far away, I installed a B&M ratcheting (Quicksilver!) shifter in my 1969 Torino with an FMX transmission. Originally, this had been a column shift car, and a previous owner had installed (badly) the console and floor shifter from a ’70s era Torino. It functioned, sort of, but wasn’t what I wanted.
The trick is that B&M doesn’t offer the appropriate brackets or adapters for an FMX. More lost love for the cast iron slushbox! I’ve read a lot on the Internet that this install simply isn’t possible, but I of course wasn’t deterred. Nor should you be.
So, how does one do this? Follow along, and I shall show you:
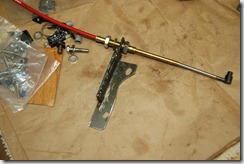
First off, the easy part. You’ll need to weld up a bracket to hold the cable in place. Using the spacers from the B&M kit, along with looking at the brackets they do provide, this should be pretty easy. The cable obviously has to end up facing toward the shift lever on the transmission. Here it is sitting on my workbench; this is roughly the view you’d have looking up at it installed on the pan.

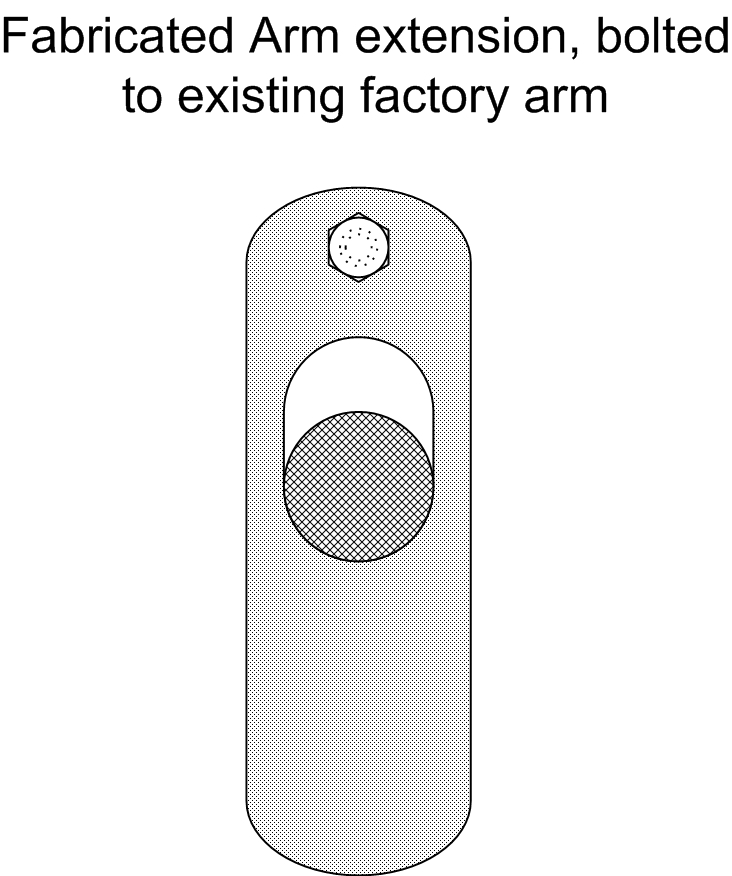
Now, the transmission shift lever must point DOWN, so that the cable movement will actuate the manual engagement in the box correctly. Mine, naturally, pointed upwards. So, I had to fabricate a lever extension:
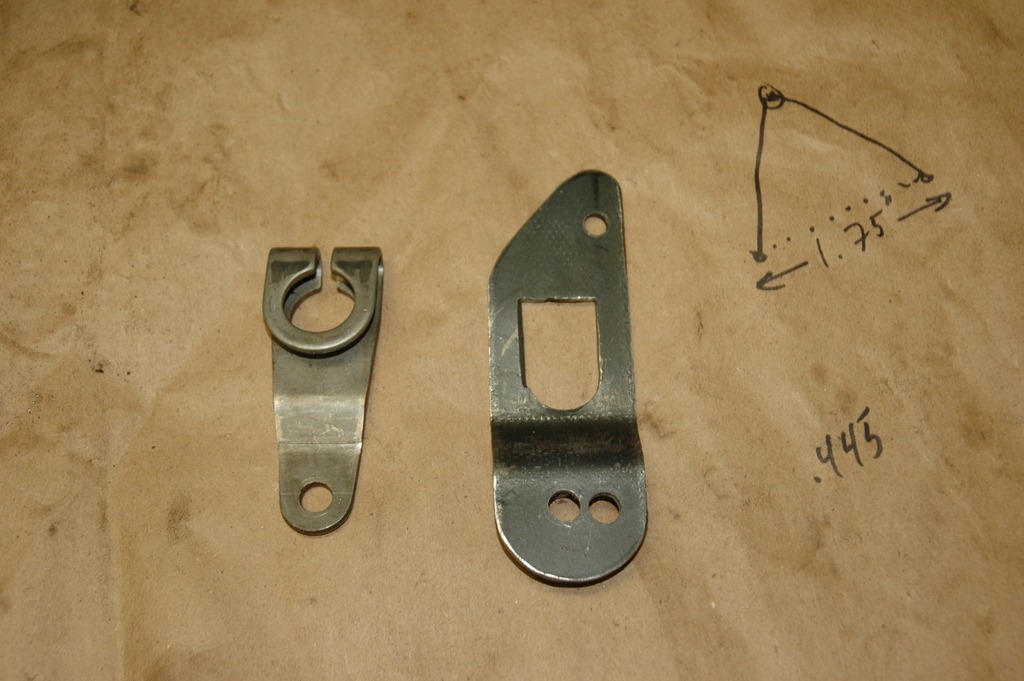
The measurements I’ve doodled there show the length of throw on the B&M shifter cable (1.75”) and the diameter of (if memory serves) the shaft going into the transmission. The round bottomed, square topped hole in the middle there allows the fabricated lever to slip over the kickdown lever, and sit on top of the factory shift lever. The hole in the upper right is for a bolt and nylock nut to fasten the new bracket to the old.
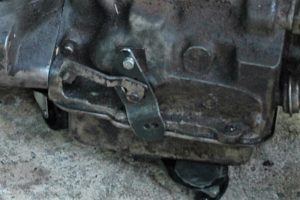
Here’s a picture of the bracket installed on my transmission. It’s cropped from another picture, but it should give you the idea. I made all of these parts so that I could install them WITHOUT removing the trans from the car. If your transmission is out of the car, your job is far easier. You can probably just weld an extension on the factory bracket, and be done more swiftly without having to shape the part to fit over the kickdown lever and bolt into place. This picture is from when I took the transmission out of the car, once I determined that shifter or not, it was a dead duck in need of rebuild. Oh, well.
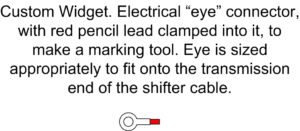
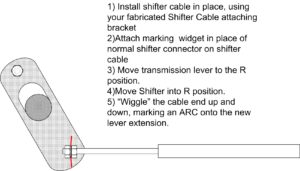
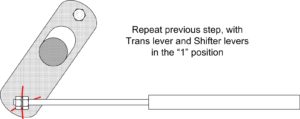
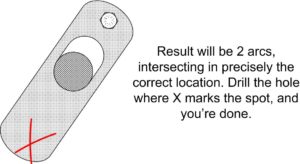
On the bottom of the extension arm, you see two holes. One was a mis-drill, the other is the point where the B&M cable end attaches to the lever. This attachment point is the most critical part of the project here. It has to be in precisely the correct spot, the right radius out from the center of the factory selector shaft. To do this, you need to mark the attachment hole. I tried a bunch of ways to make this work, then, as with most things that require very precise measurements, I made a jig, so I wouldn’t have to measure at all!
After this step, you attach the shifter cable mount to the new hole, thread in the shifter cable, and you’re off to the races.
Its’ really this easy, folks. Really. Of course, after a year or so, I swapped a 4R70W into that Torino, because I can’t leave well enough alone.
I have the brackets in a toolbox somewhere, if you’re really sure you can’t make your own!

