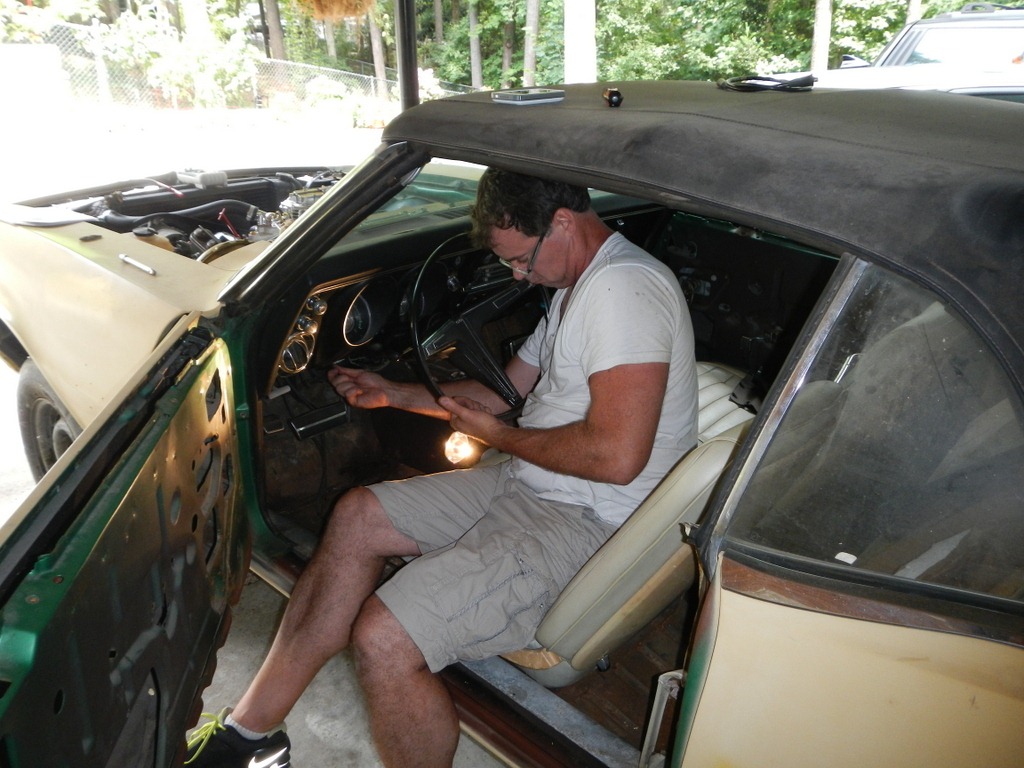
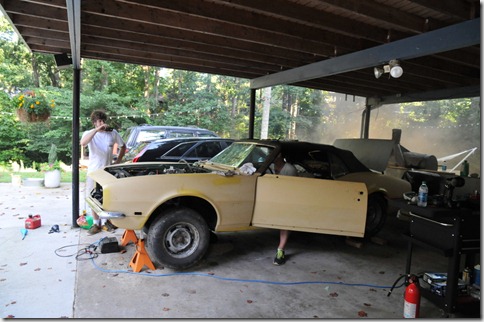
Well, after the progress last weekend, and a week of Michel ordering parts and opening his arriving UPS parcels like a kid at Christmas, we started our work Saturday morning feeling pretty well prepared. Our objective remained from last weekend – get the engine running. This trivial milestone seemed important to us, for some strange reason. Maybe it’s because without an engine, the car won’t GO? Yeah, maybe that’s it.
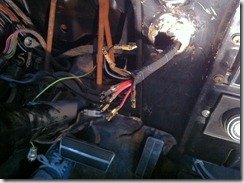 Last week left us with some newly identified issues, and of course the need for the aforementioned “yet more parts.” One of the areas that needed attention was the wiring for the ignition switch. When Michel had gone to replace the cylinder, he found badly hacked up wiring. So, this week, I took the little pigtail bits of wiring that someone had patched onto the harness and carefully removed the connectors from each wire. Cleaned them, straightened them out, and subsequently crimped and soldered them back onto the factory harness in the dash. Time consuming, and yes I could probably have found new connectors, but it worked, and frankly it was satisfying.
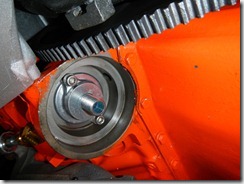 So, by the time Saturday rolls around, we’re prepared, or so we believe. Michel sets about getting the new ignition switch into the dash with its newly repaired wiring, and gets the cluster back in place as well. I took a few minutes to swap the new vacuum advance canister onto the distributor, and went under the car to look at that infernal oil filter mount. Michel had ordered the required replacement o-ring, so I put the parts together, and set about bolting it back in place. No joy. That thing was irritating. Especially since it would be a 15 second job if the engine were on a stand, inverted. Which means doing it correctly would have been effortless if the guy that assembled the motor had cared to actually do it. Oh, well. I considered various methods to hold the parts up in place whilst getting the o-ring seated correctly and the bolts started, then simply bailed on the attempt. I had also gotten Michel to order a replacement assembly featuring a superior design. That took about 45 seconds to install, and the only real change was now we needed a new oil filter – this one takes a Ford mounting boss. On the parts list!
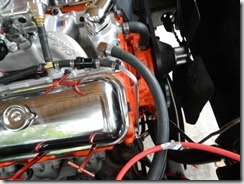 Well, without the filter in place, we can’t spin the oil pump again. No oil pump spinning, no distributor installation. Can’t install the distributor without verifying TDC, so no spark plugs and wires, either. We installed a new heater fitting on the manifold (chrome!) and installed the heater lines. I made up a new fuel line from the pump to the filter, because the old one was bent up, ugly, and in the way. Observe the majesty in the nearby photograph. So, checking our trusty list of tasks, we addressed getting the exhaust system hooked back up to the manifolds. Not too bad. On the drivers side, there are a couple of good sized holes in the pipe, and on the passenger side, one of the studs protruding from the manifold had been replaced with a new one, and screwed into an entirely stripped hole. Classy. We decided 2 was enough on that side – this exhaust system is temporary anyhow. It will be replaced when we revisit the engine compartment after painting the car. (Foreshadowing!)
Well, if you’ve been thrilled reading along so far, prepare to be WOWED. Because we’ve reached the part of the narrative where we go to the parts store, and have lunch. Bought an oil filter, a couple more quarts of oil, and a voltage regulator, because OF COURSE THE OLD ONE WAS MISSING BECAUSE IT WAS A PART YOU UNBOLT, AND SOMEONE ALONG THE WAY COULDN’T HELP BUT UNBOLT EVERYTHING AND THEN LOSE IT! Sorry. I feel better now. Lunch was pretty good, too.
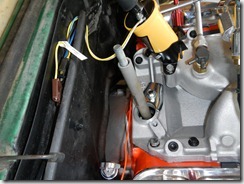 So, back to the salt mines. Plug in voltage regulator. Attach new oil filter. Add back quart of oil that dumped out last week. Spin up the oil pump again. I made a modification to my oil pump priming tool – a hunk of plastic conduit. Fits over the protruding oil pump shaft, keeping the drive shaft I made aligned. Worked like a charm. Spent a few minutes pumping oil, looked for leaks, none to be seen. Success! Pulled the valve covers to look for evidence of oil making it to the top of the motor, and there it was. Also, success! Whee! Took a quick look at the rocker arms on #1, and the valves were closed. Timing mark on the balancer is pointing at TDC, so we stab the distributor, installed the spark plugs and wires.
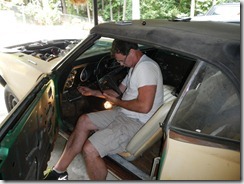 The time has come for our first little test. Does the starter function, and does it engage the flexplate correctly so we don’t have to shim it. MIchel has the honors – I hooked up the battery, and he turned the key. Nothin’. Nada. I got the meter out, and we started tracing backwards. No voltage at the starter solenoid. Backwards. Connector, nothing. Neutral safety switch, nothing. So, it’s back behind the dash to the switch. Cluster out, switch out, check for voltages. 12+ in, 12+ out of the switch when you turn it to Start. The issue is the wiring between the switch and the neutral safety switch. Follow the wiring in the loom, down to… The large connector plug behind the console. Which is OF COURSE DISCONNECTED! Plug that in, turn the key, and it makes starter noise! Hoooray!
So, now I go put some fuel in the carb. Used my fiber optic camera to inspect the fuel tank – no rust, and there’s fuel in there. Let’s give it a try.
Crank crank. Twist distributor a bit. Crank crank.. POW! Fire from the carburetor. Well, at least there’s fire. That’s a good thing, right? More distributor adjustment, random carb backfires. Usually this means the timing is to far advanced – retard timing. Nothin. Check voltages, pulled one plug and checked for solid spark, all good. Pull valve cover, double check timing mark. Make educated guess that the distributor is 180 out. Spin it around. Add more fuel to the carb, and dump 5 gallons into the tank for good measure. One more quick try, and ZOINKS! It’s the “I’m about to start” sound! Now it’s time to pay attention. Michel gives it another try and…. Success.
http://www.youtube.com/watch?v=G5I6BhRpAHw
I glance over behind the car, and there is a hilarious plume wafting across the yard. Comical. Combined with the holes in the exhaust, it looks and sounds worse than it is. Actually runs pretty well so far. One of the time-lapse shots caught a little of our cloud of probable toxins:
As it turns out, that plume was primarily rust and dust from a very long disused exhaust system. Swept up, it looks a bit like Martian Soil, really. 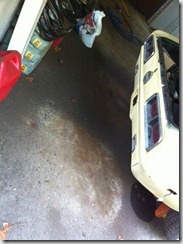
So ends a successful Saturday. We spent a little while enjoying our celebratory beer, and poking around a bit more. Found the wiring for the electric top (disconnected, of COURSE). Fired the motor up, and moved the gear selector – Select “R,” and the wheels turned backward. Tried “D,” and they turned forward. This means the car may actually move under its own power! Next we’ll see if we can get the brake hydraulics to hold fluid, bleed them if so and… Yes… Driving! Tune in next time, lone, solitary anonymous reader! Until then, enjoy your day, and go sniff some fumes. It’s fun.

