• Home
  • Project Cars
    • 1972 Hemi Duster
    • 1966 Charger
    • 1968 Camaro SS
    • 1963 Impala
    • 1972 Cutlass
    • 1969 GTO Judge
    • 1969 Torino GT
  • Hot Rod Power Tour
    • Hot Rod Power Tour Instagram Feed!
    • Power Tour 2012
    • Power Tour 2013
    • Power Tour 2014
  • Forums

Must Read

  • Looking Back: A Hot Rod Power Tour Retrospective
  • The Dodge and the 2014 Power Tour
  • Hot Rod Power Tour 2014 Recap Pt. 3
  • Hot Rod Power Tour 2014 Recap Pt. 2
  • Hot Rod Power Tour 2014 Recap Pt. 1
  • Mr. Black and The Lincoln Reach an Important Milestone
  • Home
  • Project Cars
    • 1972 Hemi Duster
    • 1966 Charger
    • 1968 Camaro SS
    • 1963 Impala
    • 1972 Cutlass
    • 1969 GTO Judge
    • 1969 Torino GT
  • Hot Rod Power Tour
    • Hot Rod Power Tour Instagram Feed!
    • Power Tour 2012
    • Power Tour 2013
    • Power Tour 2014
  • Forums

POST #3… Improvements. Before/After Photos. Other Stuff.

October 31, 2013  By Ralph Trimmer
2


Well…  As promised a LONG time ago (over two freaking months)  I am finally offering text and photographic evidence of the upgrades, improvements and anal retentive tasks performed (over a span of some 19 years) to date, as related to PROJECT BEDLAM.  Once I divulge these details, I’ll move on to the current madness.

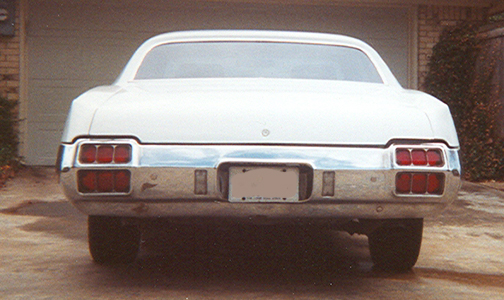
At some point soon after the purchase of the car, using a utility knife, I cut away the vinyl roof…  I had discovered the ugly vinyl was hiding an ugly secret…  RUST and ROT.  Fuck.  No worries!  I chipped and cut away what I could and covered the largest holes with duct tape! Unfortunately, I do not have photos documenting my embracing this white trash practice.  I bought this beast, rust and all, in ’94.  Six years later the notion of painting the car was prioritized.  I knew documentation would be something on which I would look back upon fondly and shot pics of the body work and paint prep…  Lots of fiberglass resin, Bondo, epoxy, J B Weld and other creative means were implemented to prepare for Maaco…  Yes, Maaco.  Scroll down to check out the handy work!  (Click on the shots for a larger version)

PAINT PREP 1

PAINT PREP 2

PAINT PREP 3

PAINT PREP 5

PAINT PREP 4

PAINT PREP 6

PAINT PREP 7

PAINT PREP 8

PAINT PREP 9

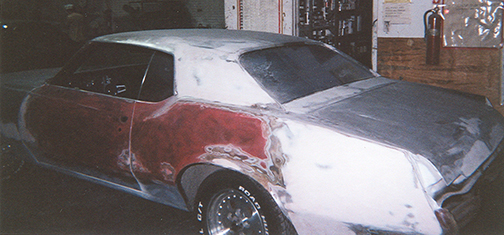
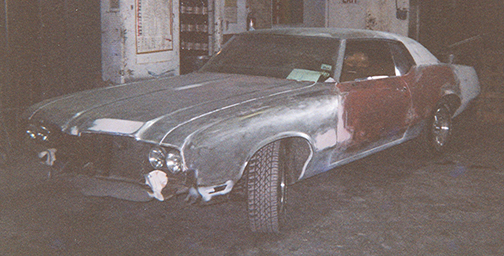
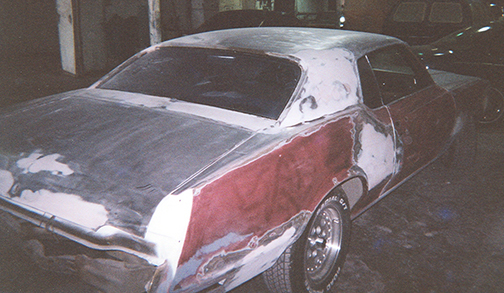
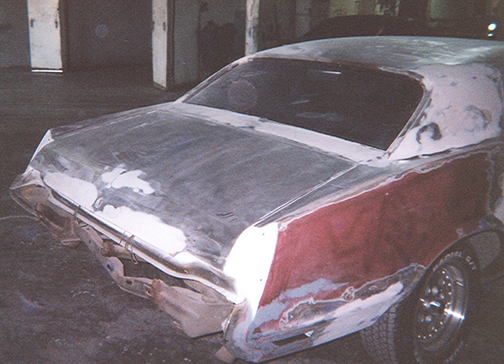
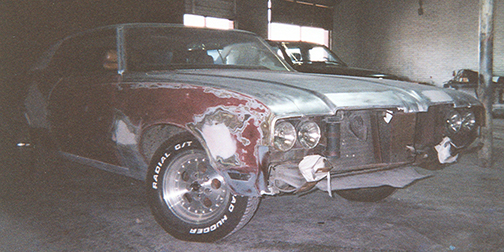
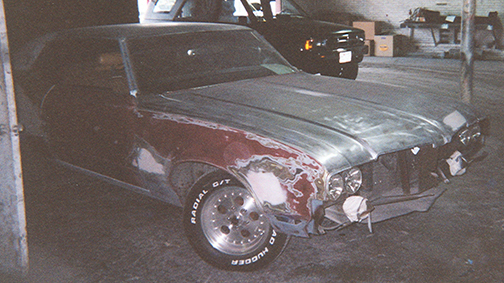
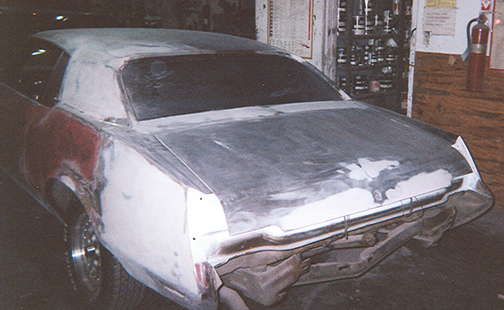
So…  Once all the shit work was completed, I drove her over to Maaco.  The photos were all shot on-site, prior to the painting.  I chose Fleet White as the “color”.  My rationale behind the expressive coating:  It would attract less attention from law enforcement!  The price was right and, with expected Maaco fuck-ups and oversprays, my ride was protected from the elements with snappy, heat reflecting (I live In Texas) white paint!  Check it out…  (yes, more scrolling)

CUTLASS 2

CUTLASS 3

CUTLASS 4

CUTLASS 5

CUTLASS 6

LEFT FRONT

RIGHT REAR

DRIVER SIDE

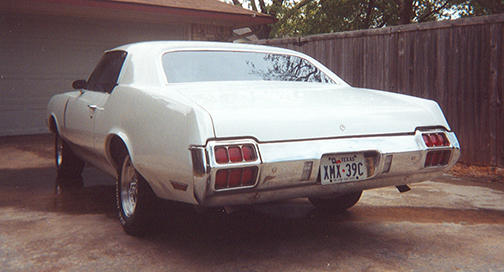
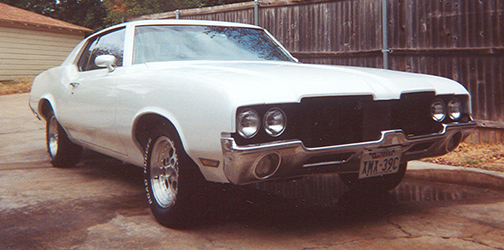
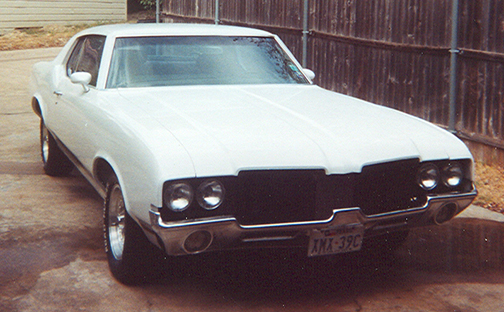
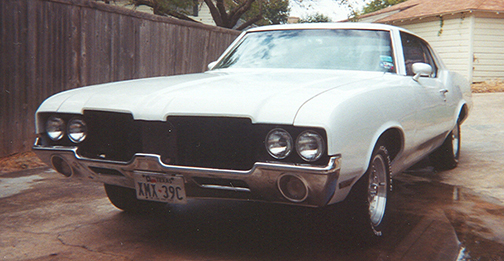
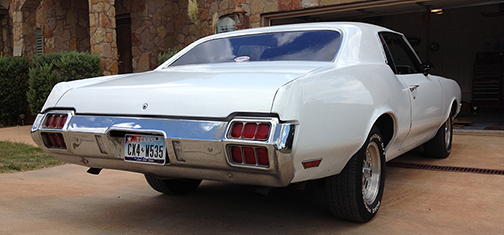
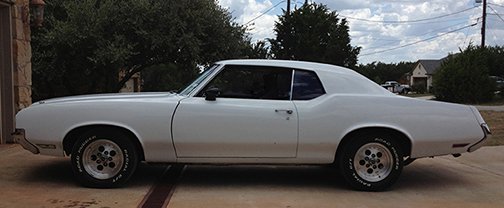
Plain, simple and clean.  Some of the best money I have spent thus far was the tab for this paint job.  It has protected the car for thirteen plus years.

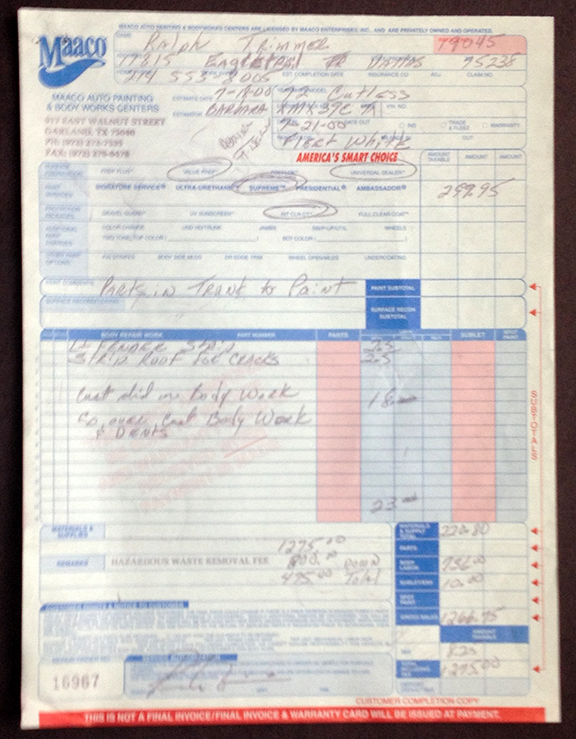
The receipt for the job:

Maaco Receipt

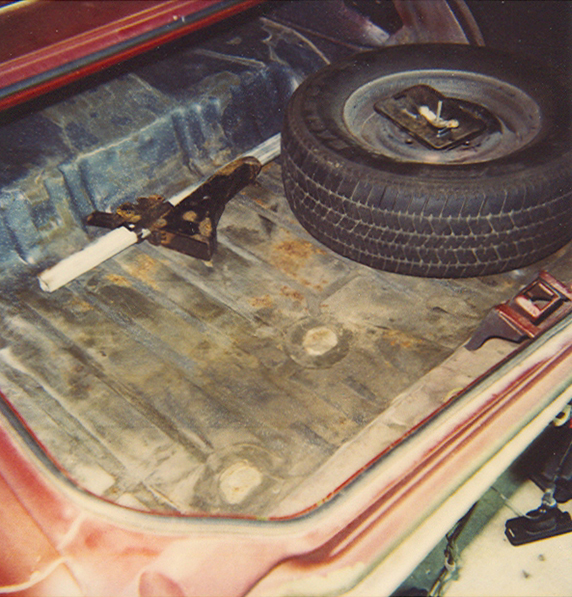
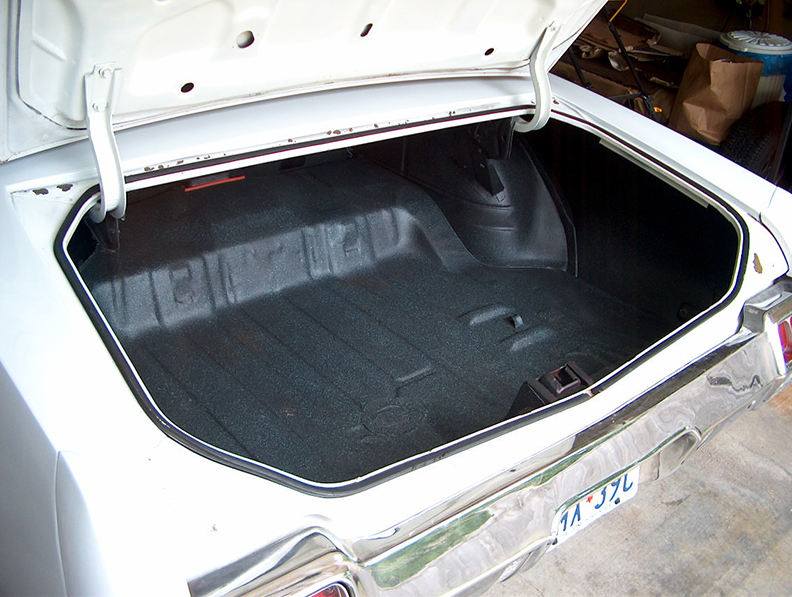
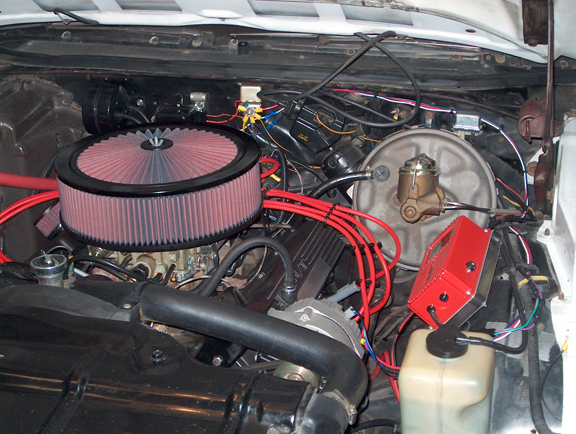
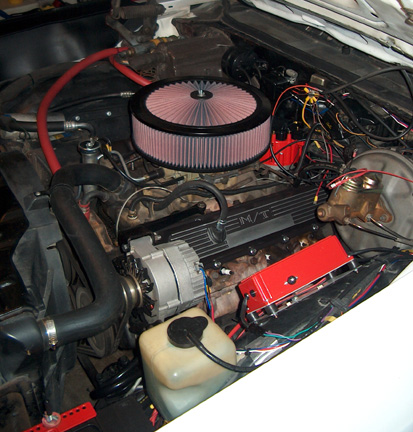
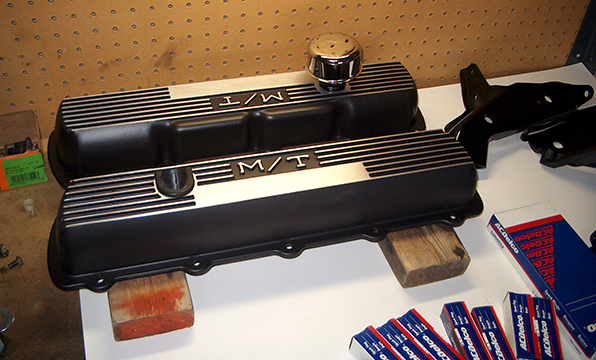
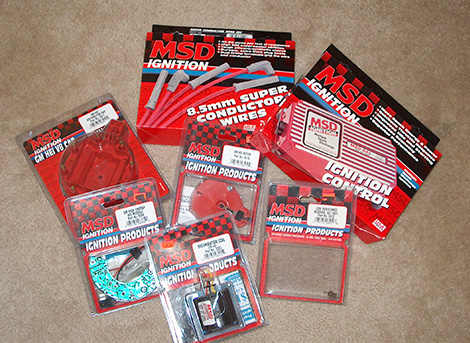
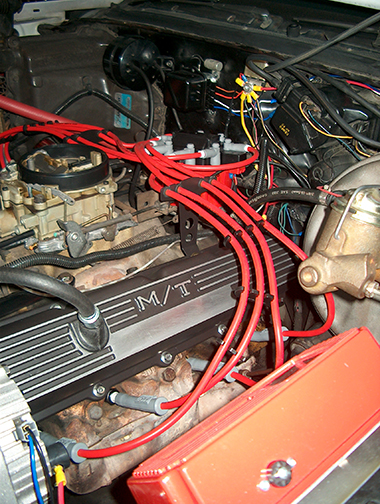
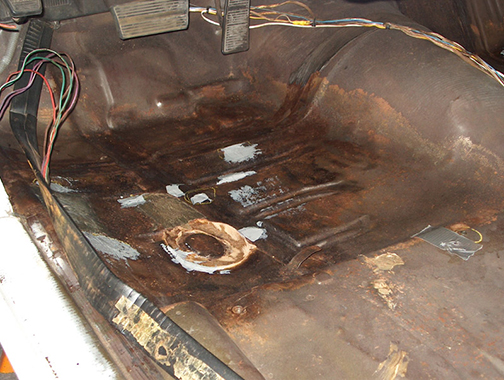
In addition to the paint and body, various other items were addressed…  All in the spirit of bringing the car back to a respectable state…  Below (more Goddamn scrolling) are some images to illustrate the journey….  Trunk was freshened up.  Under the hood: Brake booster (a complete brake job too), K&N air cleaner, re-built / re-jetted Rochester Q-Jet, phenolic carb spacer, hoses, MSD ignition, valve covers (sweet Mickey Thompsons my buddy, Robert spotted at a swap meet).  I Pulled the carpet and took care of the floor and driver’s compartment…

FILTHY TRUNK 1TRUNK DETAILED

ORIG ENGINE 4ENGINE eengine bay progress emailMT VALVE COVERS 2

MSD MADNESS smPLUG WIRES FINISHED smdriverfloorclose smfloorprep2 smFLOOR PAN PAINT 4 smCARPET PAD 1 sm

CARPET 1 smHURST V-MATIC

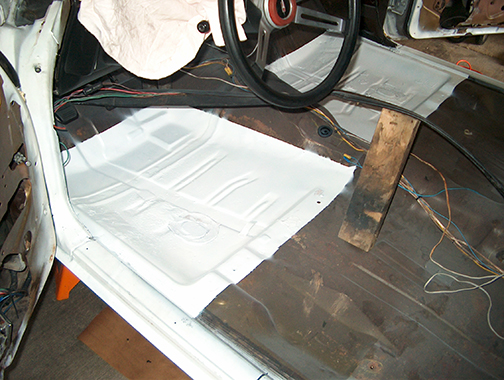
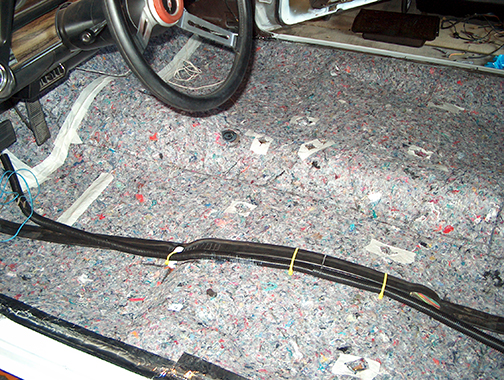
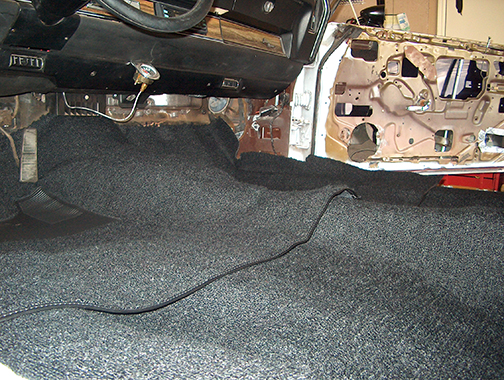
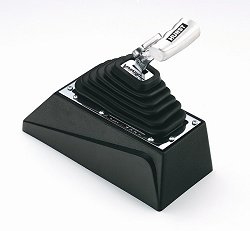
Future photos will show the interior as it nears completion.  I installed Corbeau bucket seats and harnesses a while back.  Years ago, I procured the appropriate sport steering wheel, replacing a tiny, trashy, Grant-type thing, with which the car was equipped at time of purchase…  Good riddance!    New door panels and nearly – if not all – the rest of the interior – is on shelves in the garage, awaiting installation.  The switch has been made to a black interior, replacing the hideous color (saddle) someone at GM felt was an attractive hue, back in the early 70’s.  A new headliner, window tint and stereo upgrade (MP3 friendly) are in the works…  A Hurst V-Matic floor shifter is a currently being installed, to replace the awkward AT column shift.   I’m gonna be a comfy, happy bastard on Power Tour!

Next post…  Current work load: PROJECT BEDLAM.  Lots of cool shit going on… Lots of cool shit to do!


Previous Article
The Charger, part the next.
Next Article
POST #4… The Road Ahead - Literally and Figuratively


2 Comments
Jim
onOctober 31, 2013

Reply


Hurst shifter, K&N filtercharger air cleaner, fancy plug wires, what else does a guy need?! I have to admit, that car looks much better than I remember from your description. You’ll be Power Touring before you know it!

    admin
    Ralph Trimmer
    onDecember 1, 2013

    Reply


    Jim… Apologies for the massive delay in replying. November was a whirlwind. Yes, indeed… Lots of goodies = Lots of fun. What else does a guy need? The list of stuff I require to complete the job is staggering. My next post will attempt to shed light on my intentions. June will be here all too soon!


Leave a Reply Cancel reply

Your email address will not be published. Required fields are marked *


  • Recent Posts

    • Cold Air Induction Project II: The Quickening May 16, 2016
    • The Duster Gets a Homemade Cold Air Induction Setup! May 2, 2016
    • Looking Back: A Hot Rod Power Tour Retrospective January 21, 2016
    • Post #12 – Work Continues… January 8, 2015
    • Post #11 – 2014 Power Tour… I Don’t Think So. January 7, 2015
  • Categories

    • 1963 Impala
    • 1966 Charger
    • 1968 Camaro SS
    • 1969 GTO Judge
    • 1969 Torino GT
    • 1972 Cutlass
    • 1972 Hemi Duster
    • Hot Rod Power Tour
    • Power Tour 2012
    • Power Tour 2013
    • Power Tour 2014
    • Power Tour 2015
    • Power Tour Live Blog
    • Power Tour Live Blog 2014
    • PROJECT BEDLAM
    • Project Cars
    • Random Torino Information
    • Slide Show
    • Torino Parts
    • Uncategorized
  • Recent Comments

    • John on Mr. Black and The Lincoln Reach an Important Milestone
    • Mr. Trimmer's student with the cowboy hat. on Post #10 – The Engine – SARVIS Prepared
    • REJEAN LACHANCE on Using a B&M Cable Shifter with a Ford FMX Transmission
    • Juri on 1969 Torino, Part 2, (August, 2004)
    • JHCain on Using a B&M Cable Shifter with a Ford FMX Transmission
  • Discussion Forum Login

    Log In
    Register Lost Password


Copyright 2014 Amalgamated Rod & Speed.
Back to top