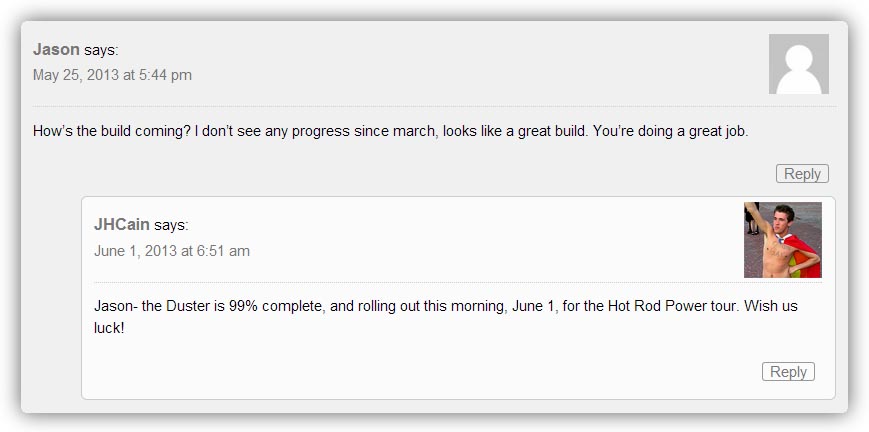
I received an e-mail a while back in which Jim excoriated me in his own flamboyant way for neglecting the blog and being unproductive in general. He pointed to the above comment from Jason as evidence of his charge and was, of course, quite right.
With apologies to all of the fans of a certain Hemi powered, light blue Duster out there, I am going to make things right and bring this blog up do date on the status of the Duster. As Jason points out in the above comment, my penultimate pre-Power Tour post on was in late March, 2013, with the final one being posted on May 16. I guess Jason missed that one. I can’t really blame him as it featured Jim in a starring role and was slapped together by me without much thought or style. I’ll recap it later in this post with added depth and zest!
A recap of Kevin’s efforts at Fabrications Unlimited
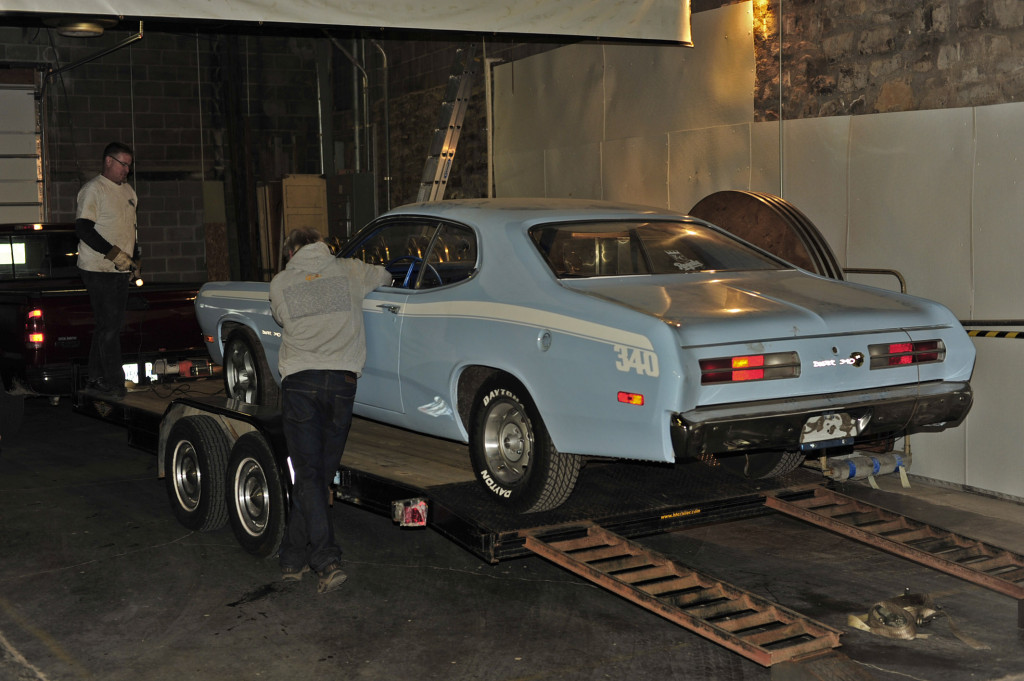
Kevin Broderick (Left) IS Fabrications Unlimited. I sent the Duster his way last winter to work on a bunch of welding and fabrication. As expected, he did a fine job.
The main things I wanted Kevin to accomplish were the fabrication of a new transmission tunnel, installation of the RMS Street Lynx four-link rear suspension and sub-frame connectors. These things required welding, which is beyond my ken. As it turned out, I would add many things to that list and I’m glad I did. Otherwise I would never have had the Duster finished in time for the Power Tour. Here’s a list of what Kevin ended up accomplishing while the car was in his possession:
- Installed rear suspension
- Installed replacement rear differential*
- Fabricated transmission tunnel
- Fabricated center console housing and mounted shifter
- Installed sub-frame connectors
- Modified original fuel tank to accommodate in-tank fuel pump
- Fabricated custom exhaust system
- Installed Vintage Air kit and all associated brackets and doohickeys
- Installed Be Cool radiator and fan kit, including hoses and neck fabrication
- Installed all the computers required to make the 6.1/NAG1 setup function**
- Fabricated and installed transmission cross member
- Fabricated and installed magnetic reluctor wheel sensor brackets
- Installed transmission reluctor wheel.
- Plumbed power steering hoses and fabricated fittings
*3.55 Sure-Grip in 742 casing
** According to Kevin, “Stuffing ten pounds of shit into a five pound bag”
I’m sure i’m forgetting something but the above list is pretty accurate. I’m confident I could have have pulled off several of the tasks but not with Kevin’s acumen and alacrity. Furthermore, I’m better prepared to tackle future automotive projects more efficiently and confidently from the experience of working with him. Kevin is a pro.
Now, let’s talk about wiring.
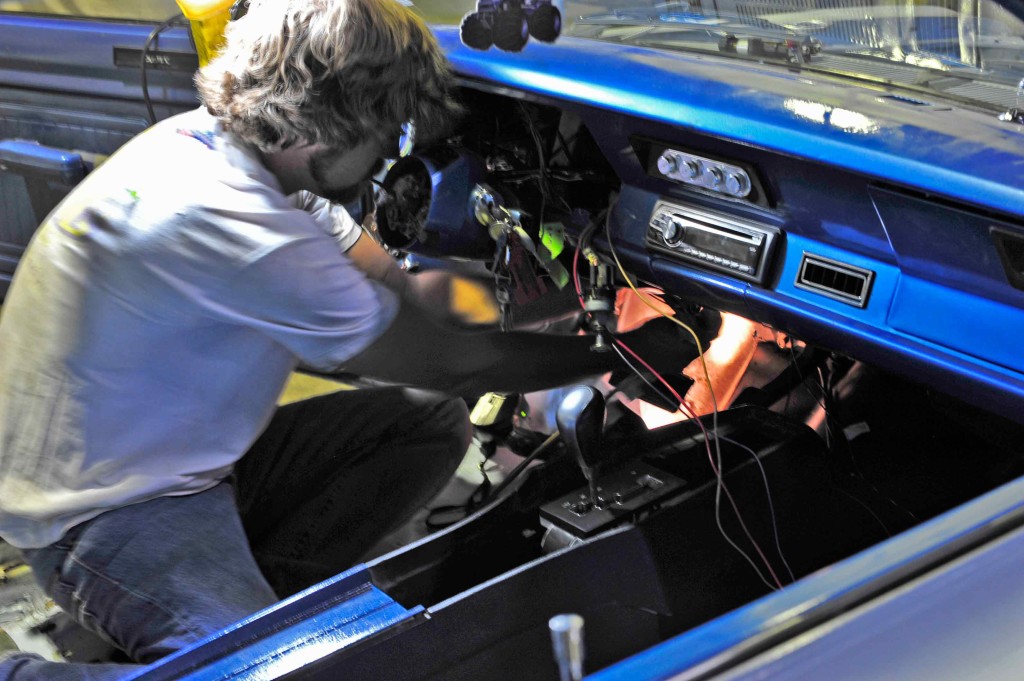
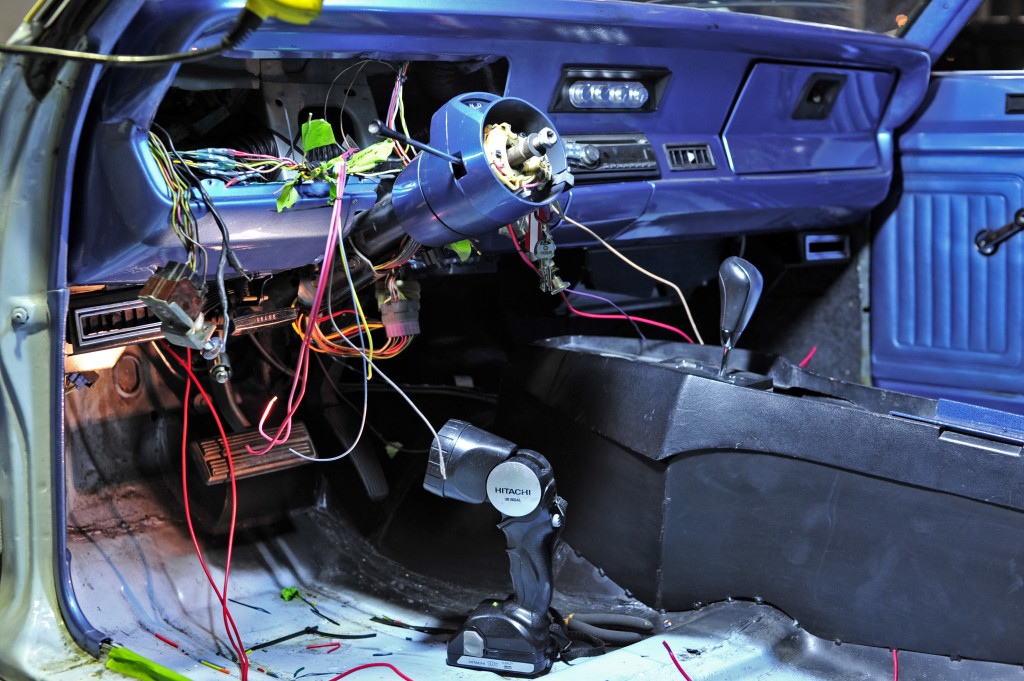
Presenting a rare image of Jim in his natural habitat. I got two ten hour days out of that chump for some Enchiladas, BBQ, pizza, beer and fancy liquor.
In early May of 2013 Jim packed up a small bag containing clothing and some personal items and a largish bin of tools and assorted items and boarded a plane headed to Kansas City. I imagine the TSA monkey who was tasked with inspecting the bin had to call in a supervising orangutan to assist in determining its threat level. All those little fittings, wires, connectors and random doohickeys surely looked like an explosive mix to all but the keenest eye.
If memory serves, which is always questionable, we lunched at Gates BBQ at the corner Linwood Boulevard and Main Street. “Two beef on bun!” was my reply to their time honored greeting. Then it was time to get to work.
Like welding and fabrication, wiring and electrical systems are largely a mystery to me. Luckily, Jim is good at that kind of thing and offered to help get the Duster wired up and ready to go. After spending at least half a day assessing the situation he may have regretted making that offer. If so, it didn’t show as he stared and noodled and poked and prodded. At first, I mostly sat or wandered around or picked at the old decals on the car that would eventually be replaced. I had already installed the rear axles, brakes and drive shaft so there wasn’t much to do until Jim finished his task. I’m afraid I have no photographic content to go with those installations. I was tired of blogging and just wanted to get the shit done. Hi-ho!
We ended up putting two ten hour days into the project. The only reason I say “We” instead of “Jim” is because I chauffeured Jim around town to pick up parts, beverages and whatever else was needed to finish the job. On the second day I rode alone picking up this or doing that as Jim worked with steady confidence and efficiency. It truly was a site to behold for this humble blogger.
We ate home cooked meals in the evenings thanks to my wife Cheryl. I don’t remember what we had on the first night but I’m sure it was really good. On the second night she made cream cheese chicken enchiladas with Spanish rice and some spicy beans. The enchiladas are really one of her specialties and there were awesome. I whipped up margaritas with freshly squeezed limes, 1800 Silver tequila, Grand Marnier and agave nectar. Salted glass, please. Gary and Sally came over, too, and a good time was had by all.
As it turned out, Jim ditched all of the original wiring from the firewall forward and added whatever lines were necessary to the rear of the car. Namely the battery cables and fuel pump lead. The donor SRT8 Charger battery was located in the rear and I had the positive battery cable in my possession. We had the negative cable crafted to our specs by the fine folks at Wholesale Batteries, Inc in Kansas City, KS, as well as a few other important cables that called for precise lengths and quality ends. Relays were added for the headlights, radiator fans, driving lights and fuel pump. It’s amazing to me how much brighter the headlights were running off the relays and new wiring. Same old bulbs, totally different intensity.
There were a few leads here and there that had Jim scratching his head temporarily. All it took was more prodding and noodling to solve those mysteries.
Jim stated goal going in was to fire the engine before he left. Sadly, that didn’t happen. Street and Performance, in Mena, AR was still working on the headers so the starter wasn’t installed and we didn’t want to start the car with open heads. Oh, and I hadn’t run the fuel lines yet and we didn’t have time to do it before Jim’s departure. Other than that, there were a few simple odds and ends which would have to be finished later by yours truly. Jim was nice enough to leave instruction even yours truly could follow.
Hey, Jim. Feel free to add some light to your efforts in the comments section if you want. I’m sure I left things out that might jazz our more technically minded followers.
It was up to me now.
Kevin had finished fabricating. Jim had finished ‘lectrifying. I was on the clock now and had to have the Duster ready for the 2013 Hot Rod Power Tour in three weeks, give or take a couple days. It felt a little bit like one of those automotive reality shows in which the participants have a huge project to get done in time for some artificial deadline. Overhaulin’, Gas Monkey Garage, etc. The biggest differences being that I didn’t have a ten person crew or sponsors giving me parts. Plus I was quickly running out of money and my deadline was anything but artificial. Hotel rooms were booked and I had been talking and blogging about the Duster for a year. Can you imagine how much shit Jim would have heaped upon me if he had to do another Power Tour in a 1969 Ram Air IV Judge?
I really like bullet points. So let’s feature some to illustrate the scope of the remaining work.
- Run fuel lines and filter
- Wire fuel pump
- Run brake lines
- Install parking brake cables and hardware
- Bleed brakes
- Install headers
- Install exhaust system
- Install interior
- Slap some Hush Mat onto the floorboards
- Acquire and apply jazzy new graphics
- Decide on and acquire wheels and tires
- Set ride height and shock absorber adjustment
- Wire and install iPod thingy
- Charge A/C
- Wire gauges
- Figure out gas gauge/sending unit
- Install front bumper, grill and hood
- Acquire and install kick ass driving lights
- Install kick ass Hurst shifter knob that Jim gave me
- Test drive, sort, repeat
I’ll save you, dear reader, the trouble of reading detailed reports of all the above points. As expected, there were a few highlights and lowlights as I made my push for completion. Lets focus on those!
Anybody who has ever installed any headers on just about any car knows how arduous and miserable the experience can be. The Duster was no different. The typical cramped-space maneuvering of the units to get that first bolt started and everything thereafter. I shed a fair amount of blood during the process, some of which still adorns the engine compartment! The headers themselves are very nicely made and I’m quite happy with them. Not surprisingly some of the bolts were very difficult to get to but in the end I was able to torque them all down with doing anything cheesy like bang on the pipes or shave off pieces of bolt. Good work Street & Performance!
Here’s what I learned during my first installation of Hush Mat: wear gloves! Thick ones. I was rushing and foolish and I sliced up my fingers several times. Next time I’ll be smarter about it. And that next time will be fairly soon. The car needs more dampening. I plan on putting some in the doors, on the roof and inside the rear quarters in places. Sure, that stuff is heavy and I’ll be adding weight to the car but I think it will be worth it with regard to passenger and driver comfort, noise control and a more solid feel for a car constructed mostly from broiler foil.
The most intimidating Thing on the list was easily the application of the graphics. I had never done it before and screwing it up wasn’t an option. By the time I received them the Tour was just days away and I wouldn’t be able to replace any ruined elements in time. Once again, I employed the help of some friends who were willing to help me out. They weren’t car guys this time, though. They were artsy liberal types with delicate hands and sharp eyes for detail!
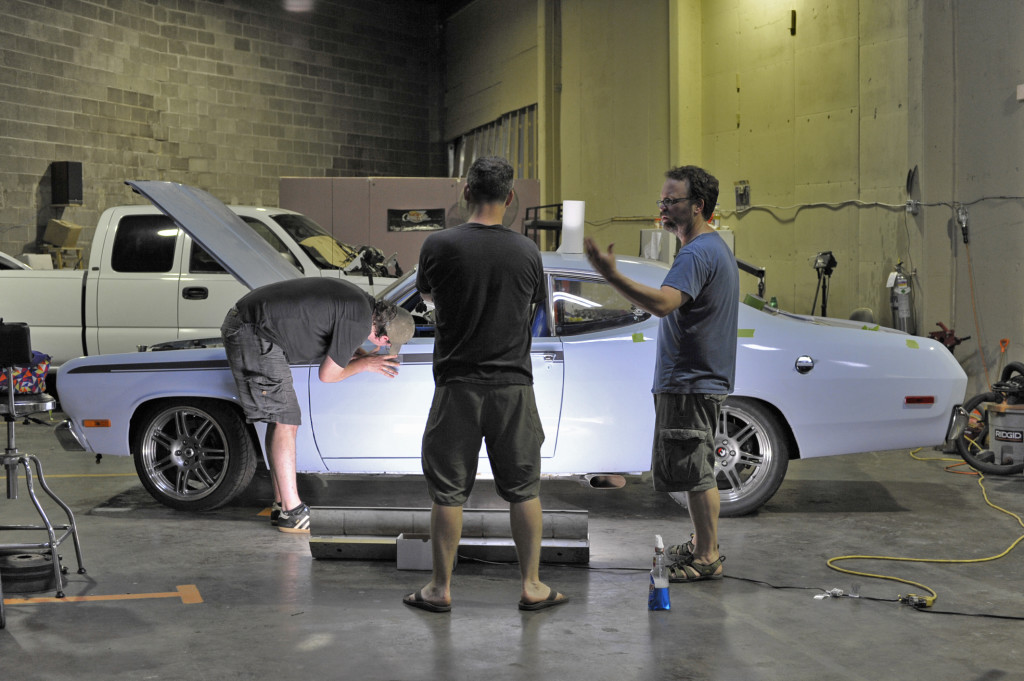
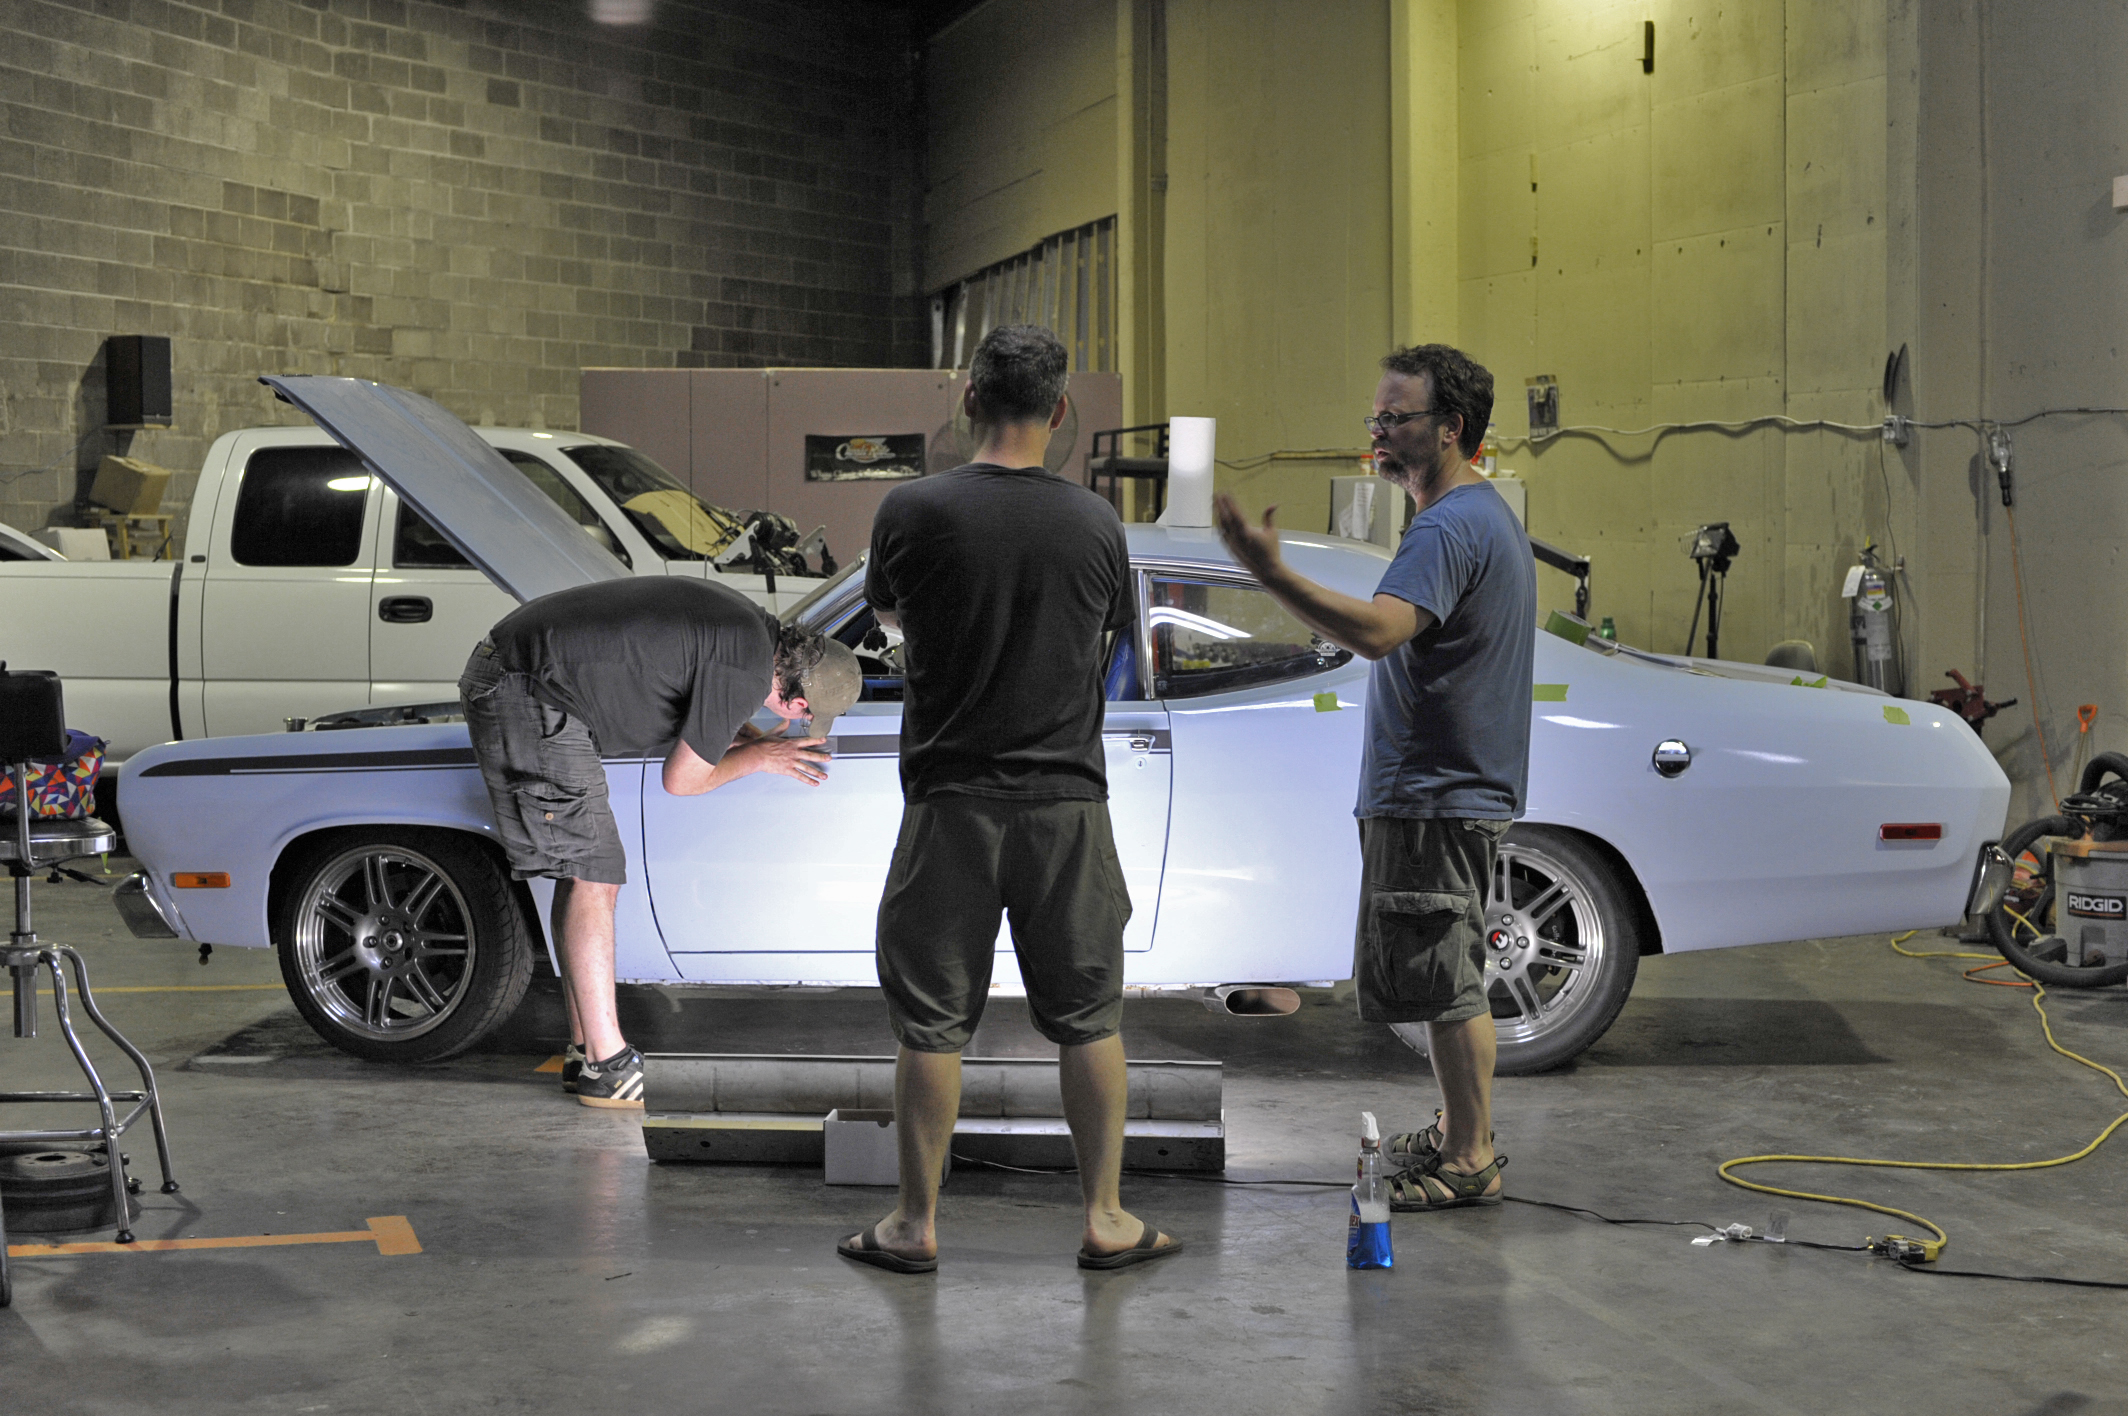
Josh (right) enlightens Tate (center) on the finer details of vinyl automotive decal application while your humble blogger (left) applies said decals.
After inspecting all of the decals and actually reading the directions carefully we came up with an action plan and drank one glass of beer each to take the edge off of any pre-application jitters. The instructions suggested started with on of the doors and going from there. So we did. Like most things, installing vinyl car graphics is a technique thing. Once one gets into a groove and establishes said technique it’s not really very hard. It does require patience and attention to detail, however. Oh, and the right weather helps.
The night we met at Your Classic Ride to apply the stripes it was raining, hot and humid. Soapy water or Windex is spayed on the surface of the car and the decals so they can be positioned on the car. Otherwise, one would have one shot to apply them and that would really suck. We used Windex. Once positioned, the Windex starts to dry and which makes the decal less and less movable. Eventually it’s stuck on there for good. Well, I didn’t take the extreme humidity into account before spraying Windex all over the place and the decal took forever to set. Breathing on or staring at it was enough to screw up the placement. Lesson learned. We started applying less and less Windex until we had it figured out.
It was a time consuming process and we were at it until after midnight but we got the job done. I made a couple mistakes here and there but I think it turned out pretty well.
To be continued because this post is too long and I’m tired.

