
Though disappointed I would not be meeting my pals in Charlotte for a week of high performance revelry, I was not defeated. I was in the midst of a great project and was determined to continue enjoying it… More work to do!
June 4: My B&M Holeshot Torque Converter finally arrives. Kari once again came over for the fun. We got the torque converter on to the transmission shaft – It goes on in three phases of Push, Clunk, Turn… Somewhat like a key. Then we mated the transmission to bell housing and attached the torque converter to the flex plate… This requires a bit of wrestling, to rotate the flex plate and get the crank and pistons to turn, whilst aligning the torque converter to the flex plate and attaching it with bolts in fairly tight quarters. It all came together nicely.
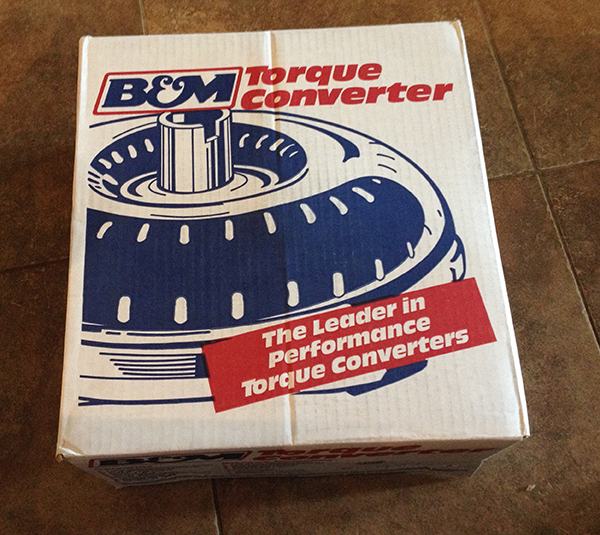
The box arrives! B&M Holeshot torque converter – A somewhat ill-mannered 2400 stall…
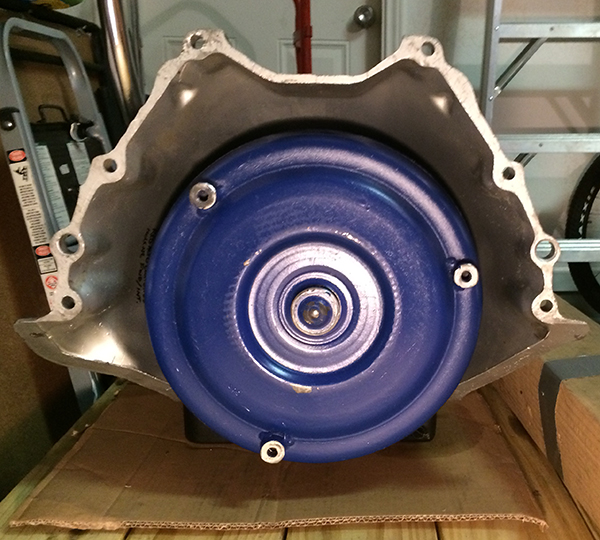
Torque converter affixed to transmission… It’s a fit!
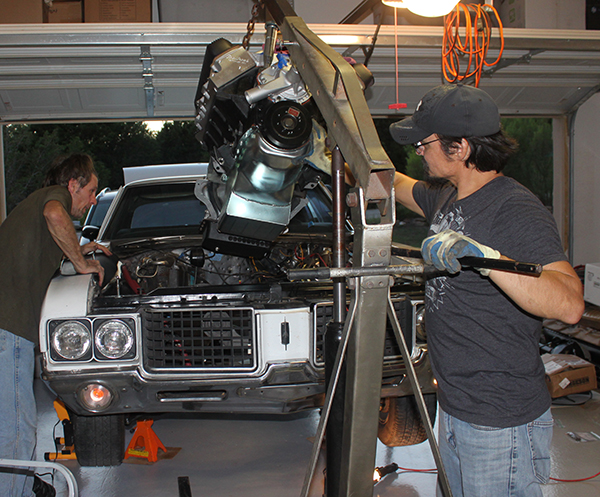
June 5: The engine / transmission combo was hoisted… Time to get the sumbitch dropped in! Step by step the engine / transmission combo was lifted off the cradle, engine mounts were attached, and the assembly was pushed, pulled, lifted, rolled, scooted, lowered, shifted, tugged, and wrangled. This is a tense process, as the spectre of serious injury or death looms at each turn of the journey…
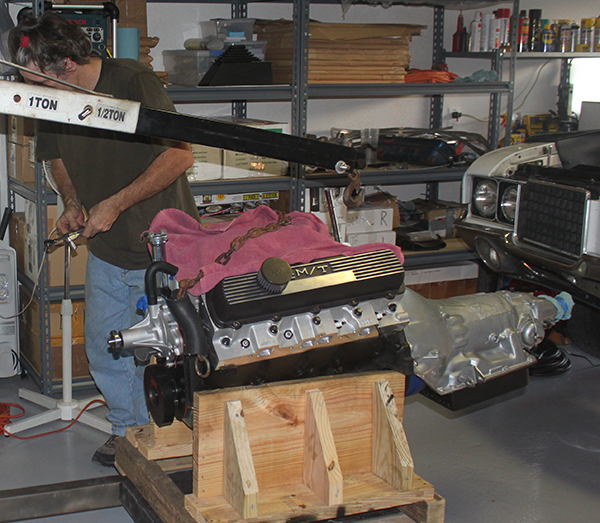
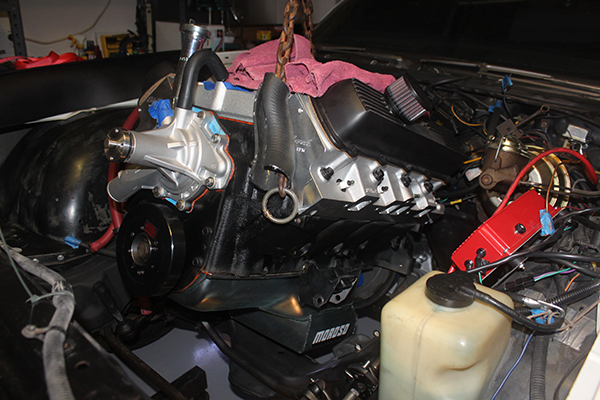
Engine / Trans combo rolled under the hoist…
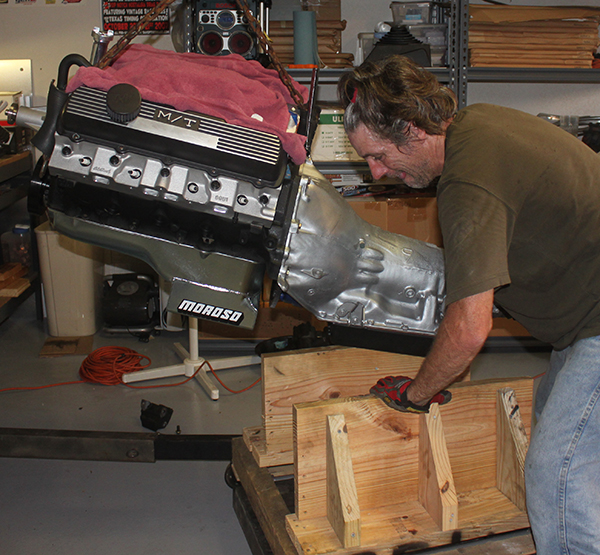
Up, up, and away… Clearing the dolly!

Positioning and pulling… The process begins…
Getting the cargo into place and checking clearances…
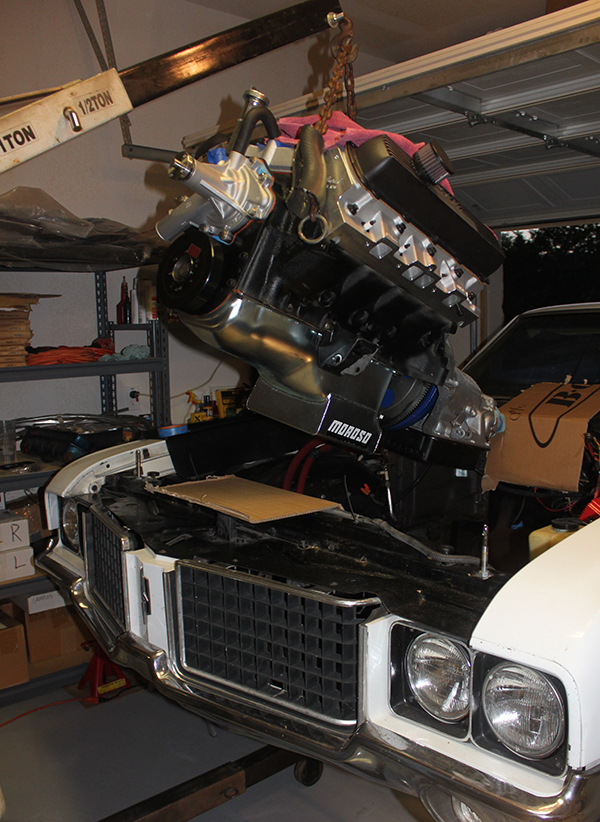
Transmission first – The lowering commences…
Lower and lower – pulling down on the tail shaft and gritting my teeth…
Bit by bit, the engine settles into its new home…
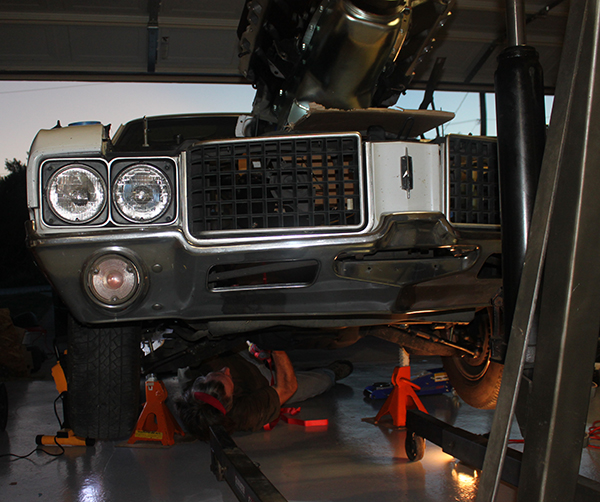
This would be as far as she would go. Close but no cigar…
As illustrated in the photos above, we got really close. No cigar, however. Kari and I figured the issue was angle. Hence, we repositioned the chains, to drop the tail shaft lower. This way the transmission would clear the tunnel and we could more readily wrestle the engine into its perches on the cross member… No big deal – just another go at it and we’d be cool.

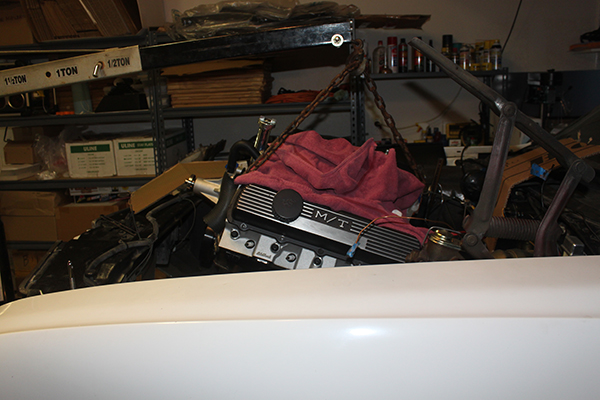
Ready for another go. This time with the combo at a more acute angle. Yikes!
June 6: And so, once again, the assembly was pushed, pulled, lifted, rolled, scooted, lowered, shifted, tugged, and wrangled. And again, we were close. We estimated the unyielding tolerance was maybe an inch or so. Fact of the matter was that the new engine and transmission were not going back in as easily as the old 350 came out. Damn. What the hell were we doing wrong? A call to Danny was made… He deduced the issue was the MILODON 7 qt. oil pan… The geometry of it prohibited installation. Danny suggested we remove the transmission and lower only the engine onto the mounts and subsequently roll the transmission under the car to attach it to the engine. Fair enough.
June 7: Kari and I followed the new protocol. This time we were easily able to get the engine down near where it belonged. Before she was all the way in, we got the headers into place and attached them to the heads… Tight tolerances mandate it has to be done in this manner… Danny shared the knowledge from his own experience; it simply is not possible to slap headers on once the engine is in place. This is a tedious process – made even more of a ball buster by the fact we were leaning over the fenders and dealing with a super tight working space, especially on the driver’s side. Adding to the fun was the issue of the brake lines and junction block, which I had re-positioned… They were still a problem. Not to be deterred, Kari and I continued the process of incrementally tipping and tweaking the block, to make this work. Adding to the tedium and stress was the fact we had to very gingerly handle the ceramic coated headers. Nicks or scratches were prohibited. What I have not yet mentioned here is the duration of this, our third attempt at dropping the engine in. We began attempt number 3 in the middle of the afternoon. Time flies when one – in this case two – are having fun… Afternoon turned into night. We ate dinner and resumed. Night rolled on and became midnight. No big deal; work to be done. At some juncture birds began chirping and the sun began to rise. As we all know, fatigue has a way of beating a man down. Somewhere in the midst of our damn near getting the engine onto the mounts we noticed the perches and engine mounts weren’t aligning. A few more tries and we measured, to see what the issue was. Kari and I measured again and yet again. More shifting and block tilting… so fucking close. We were determined to get this engine in, dammit. But, it was not to be. We were fried. Begrudgingly, we removed the headers and lifted the engine back out of the car. Once the engine and trans were lifted out, we were able to more accurately measure, comparing the engine mounts’ alignment to the perches. Sure enough – a discrepancy of just shy of ½ of an inch. The discovery was a bummer and an indication it was time to close shop and re-visit the project later. FUCK.
A recurrence of “FUCK”. Surely things will get better…