
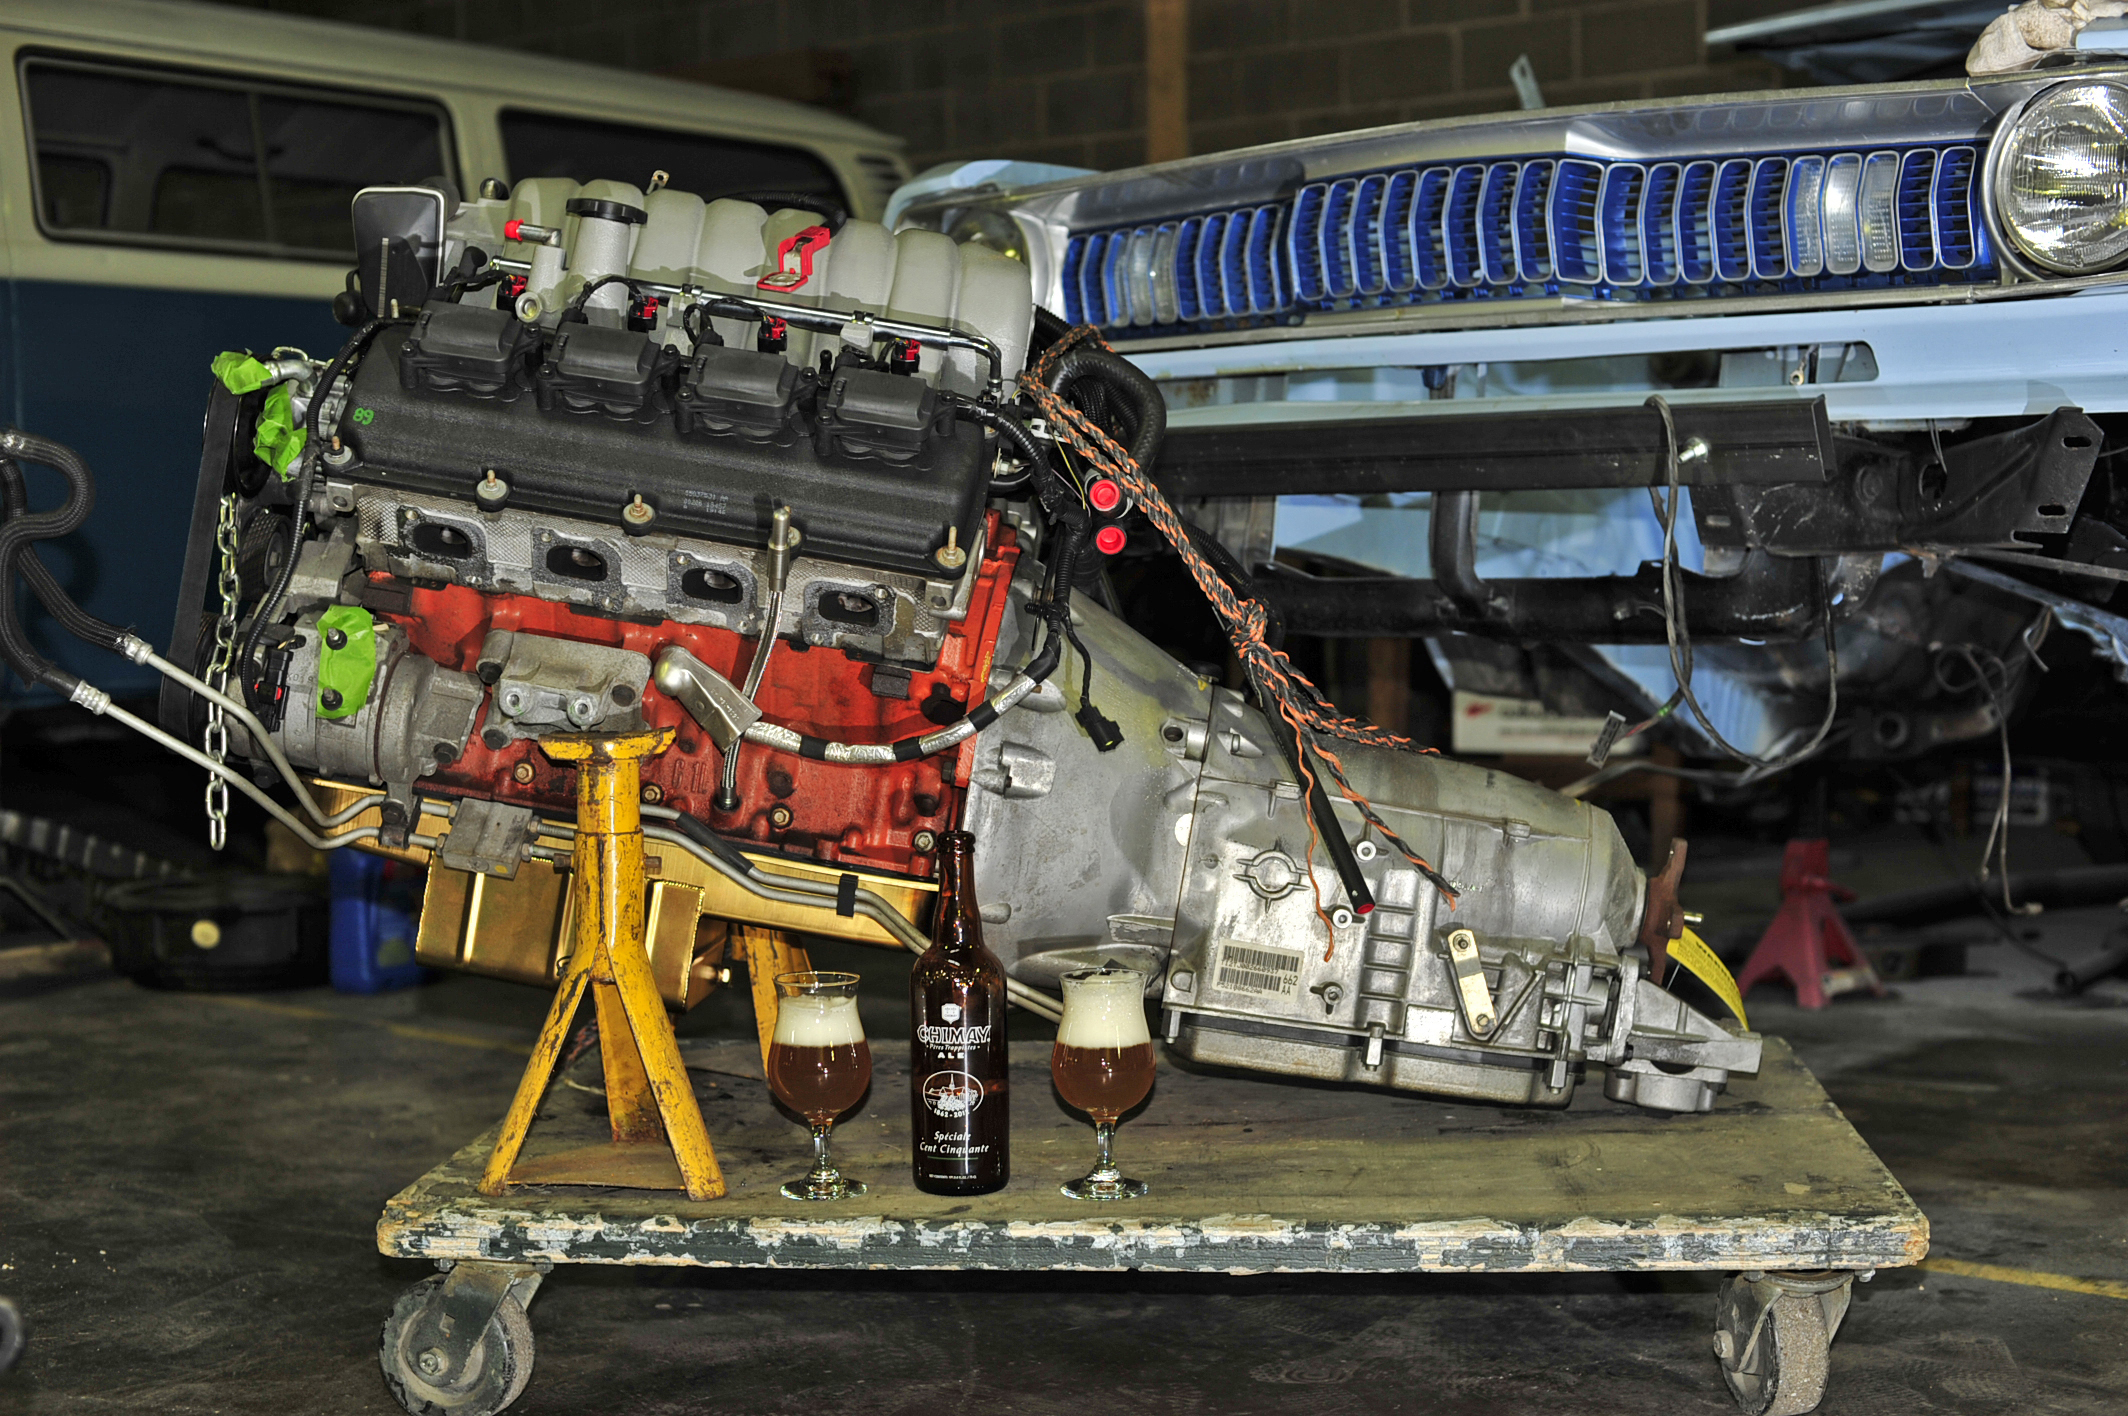

Sure, it’s not such a great idea to drink and wrench. But Gary was nice enough to bring a limited release Chimay and the task at hand was pretty simple. Plus he brought the appropriate glassware!
How could I resist? Take note of snazzy dip stick setup.
In order for the 6.1 to nestle nicely into the Reilly Motorsports Alterkation K-frame, a new oil pan with a center-sump is required. There are a few options out there but I went with a nifty looking Milodon pan, part #310000. Naturally, a new pick up tube (Part #18331) will be required and a new main-cap bolt to bolt secure it. These bolts are of the torque-to-yield variety so new ones are required. I was puzzled upon opening up the package for the oil pan gasket (Part # 40750) to find TWO gaskets. Turns out, the windage tray for the 6.1 engine serves double duty as the oil pan gasket. The factory service manual mandates that it cannot be reused but I’m going to anyway. I figure (hope) the tray being sandwiched by the new gaskets will do the trick. Otherwise I’ll have an irritating mess on my hands. I also installed a nice looking Milodon dip stick (Part # 22065).

Here’s a look at the windage tray/gasket setup.

A long screw like the one on the number one main cap is used on the number three main cap to secure the new oil pickup tube.
Then it was time make sure the K-Frame actually fits the Duster like it’s supposed to. Being pessimistic about these sorts of things, I expected the Duster to be all twisted up or something and not make for a simple install. Turns out, the Alterkation K-frame fit perfectly. Per the RMS instructions, I drilled some holes for the backing plates that snug the shock tower into the frame rails.

Like a glove.
Then I departed from the RMS instructions. Instead of installing the K-Frame on its own I decided to mate it to the engine/transmission and install them as a unit. With the first part now done, the next step will be to test fit the assembly. In order for the NAG1 transmission to fit in the Duster, there will be some modification to the transmission tunnel. By modification I mean bashing it with a big hammer and/or cutting out chunks with sparks flying.

Everything is coming together nicely. Turns out, Bill Reilly and crew know what they’re doing.
It occurs to me that I don’t usually take pictures as I work. I get focused on what I’m doing and forget about the camera. Then I ‘ll take pictures when I’m done, with no shots of the process. On the off chance that I can actually make this blog useful for somebody out there who’s planning a similar project, I’m going to start making an effort to get some step by step images of my assorted tasks.

Until next time…