Well, it’s been a while since my last blog update and I’m sure everybody is not wondering what’s going on with the Wide Ride these days. The answer is either not very much or quite a lot. After spending some time with BRP Muscle Rods and then with Hedman Headers, The ‘Rider came home very briefly before being whisked away once again to a top secret bunker, where she will be receiving the metallic TLC that she needs as well as a nifty coat or two of paint.
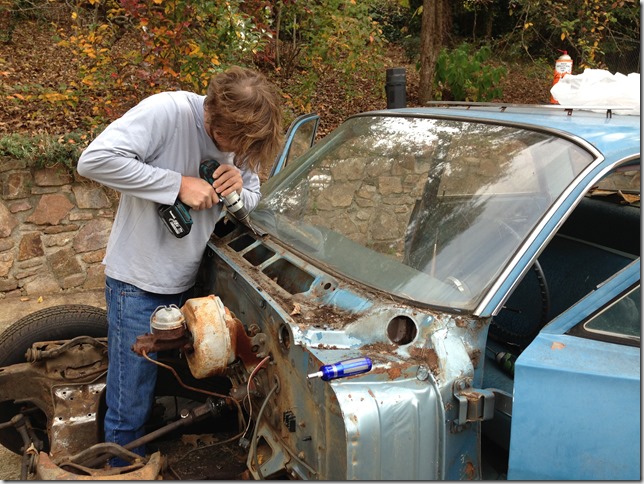
During the brief time that The ‘Rider was back in the driveway, Mr. Cain dropped by to assist in some further de-construction and to mock my record keeping system. (You must have tags, I say!) Here he is drilling holes in my car.
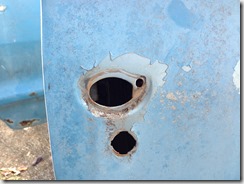
When we took the door handles off, Jim noticed that the paint underneath the paint underneath the paint on the driver’s side door was brown instead of blue. Turns out, a previous catastrophic injury required that they be replaced. Huh. The things you discover…
 |
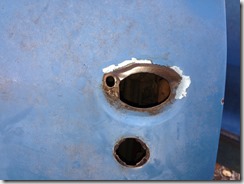 |
| Blue paint under blue paint on the passenger’s side | Brown paint under blue paint under blue paint on the driver’s side |
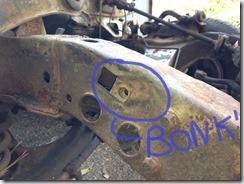
Also, whatever mystery impact dented the bumper and bent the bumper mount bar also bent the frame in a tad at the attachment point. It’s not too bad. Hopefully it won’t be a big deal to pop that sucker back.
 |
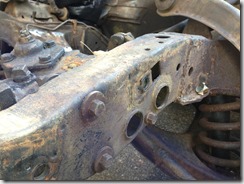 |
| Slightly smooshed | Sensible |
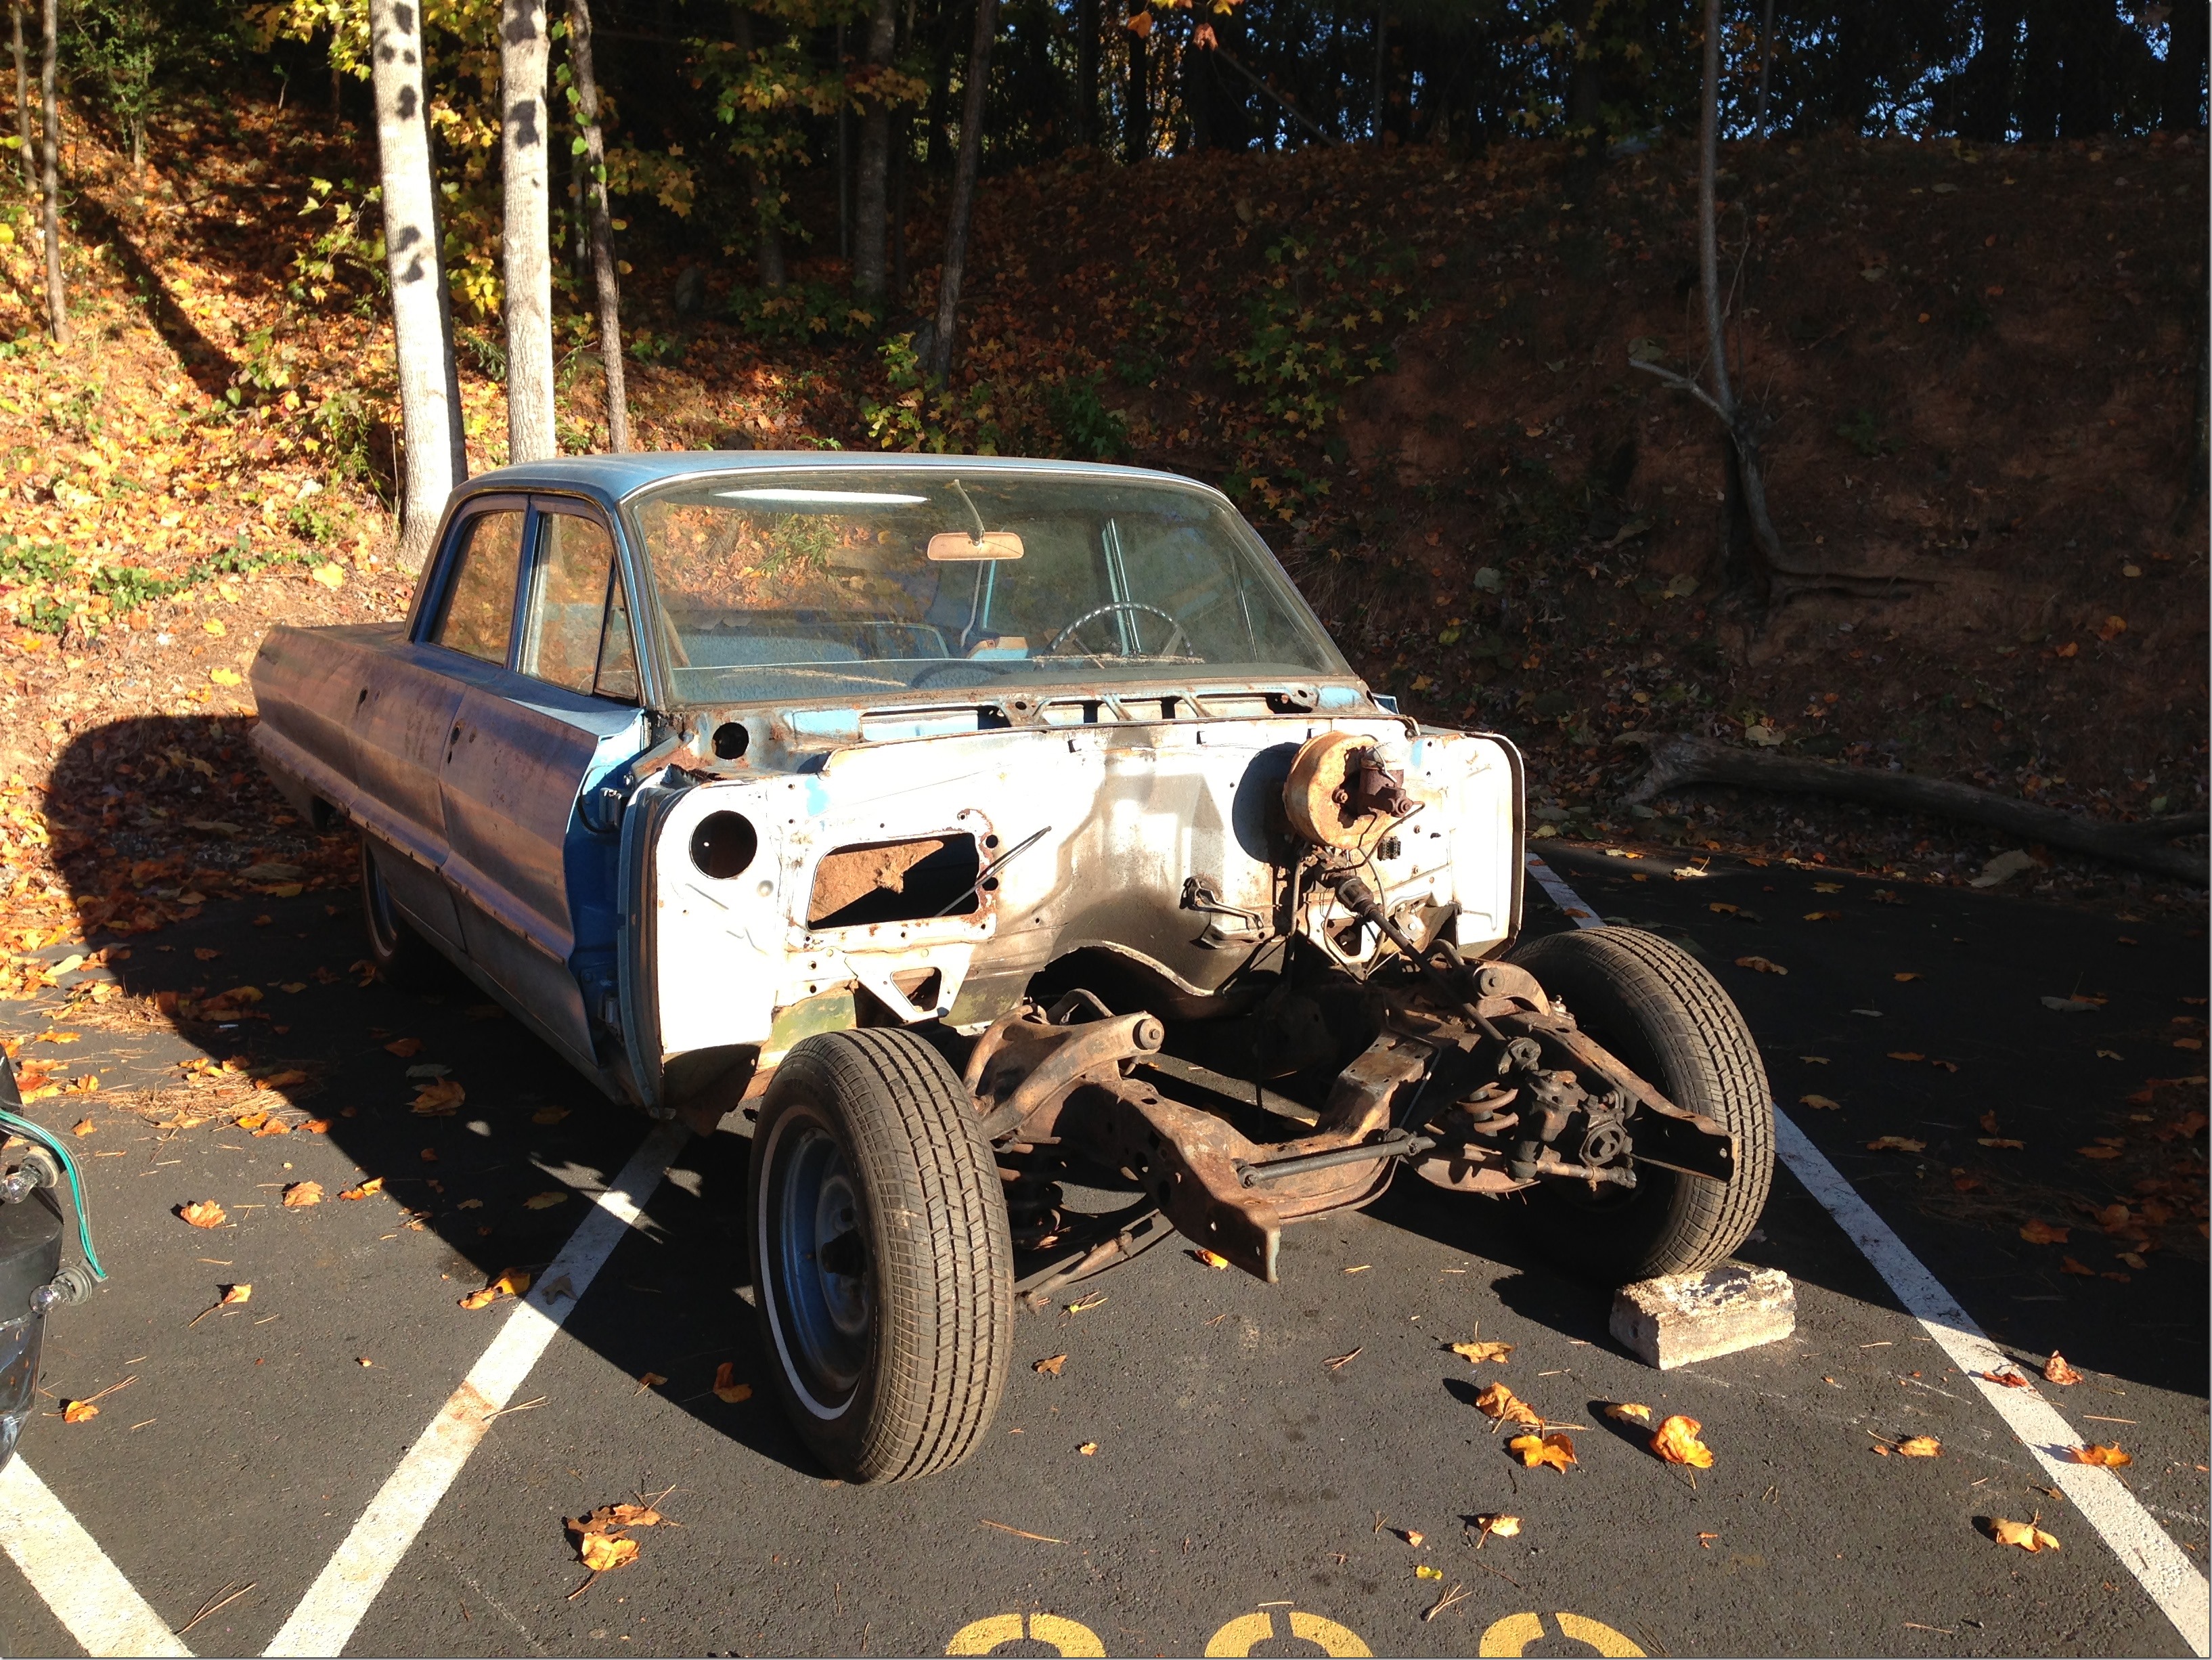 |
| Forlorn, the stripped ‘Rider awaits its fate outside the maw of the secret bunker. |
Not having the car around much has led to a fair amount of down time for yours truly, which I have tried to fill with small, poorly documented sub-projects. To wit:
- I procured a blast cabinet and pressure pot from Harbor Freight and have been quasi diligently cleaning up brackets and other small pieces for repainting.
- I’ve been experimenting with ways to clean and polish the old aluminum trim
- I’ve been ordering things. Lots and lots of things.
With regard to the last point, it occurs to me that I’ve never layed out my overall build plan for all of you hapless readers to enjoy. I might not have done that because I didn’t know myself, but I’m pretty confident about it at this point, so here goes.
Engine:
LS1, natch. I’ve got one from a cracked up ‘04 GTO. (You’d know that if you bothered to read this blog. Geez!!)
Transmission:
4L60e from the same ill fated GTO
Fuel:
EFI Tank from Tanks, Inc and the usual Corvette regulator set up.
Rear End/Drive shaft:
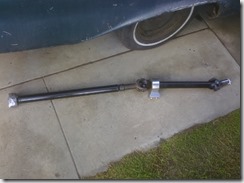
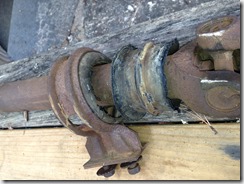
I’m keeping the factory rear and 3.36 gear set, but will be replacing the drive shaft carrier bearing with a beefed up aluminum and polyurethane model that will be able to handle the HP. To compensate for the bearing’s inability to flex with suspension travel, I’ve procured a telescoping rear shaft section. Essentially, there’s a slip yoke on the shaft itself to soak up all the motion. (Boom-chicka-wow-wow?)
 |
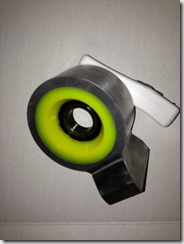 |
| Seen better days | New and shiny |
Suspension:
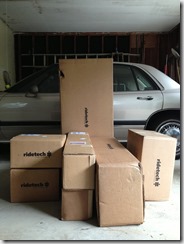
Complete air ride system from RideTech. That’s all new A arms, trailing arms and panhard bar, front and rear sway bars and of course, the air bags themselves. That old, wallowy ride should be a thing of the past.
 |
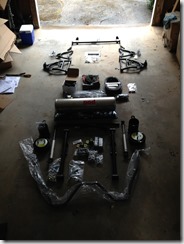 |
| BOXES!!! (Pretty sweet Buick back there, eh?) | Of suspension darkly |
Brakes:
Wilwood disks front and rear
Wheels:
15” Steelies from Wheel Vintique. I think I’ll be running 245/60 on 8” wheels in the front and 295/50 on 10” in the rear.
Steering:
Borgeson Delphi 600 power steering box and all the original linkages
Instrument Cluster:
I had hoped to be able to mod the existing cluster, but Dakota Digital now makes a VHX cluster for 63-64 full size that is just too functional and ‘easy’ to pass up. Also…cruise control…maybe?
Climate:
Classic Auto Air Perfect Fit system
Radio:
Yeah, I said radio. I’ll be going with the Model 2 from RetroSound. The Wide Ride will have hands free bluetooth calling!
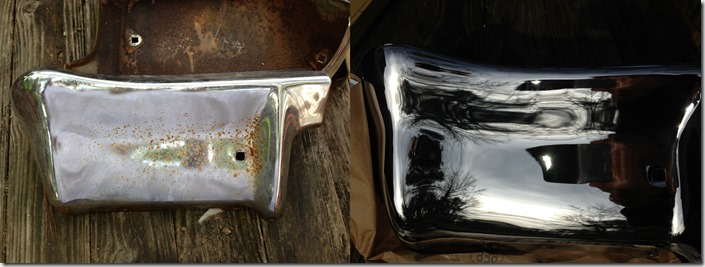
Lastly, and pre-climactically, I met a guy named Mack in a Waffle House parking lot who gave me my newly re-chromed bumpers in exchange for money. Nothing could ever go wrong with that scenario. Still, Chrome It in Marietta did a great job.
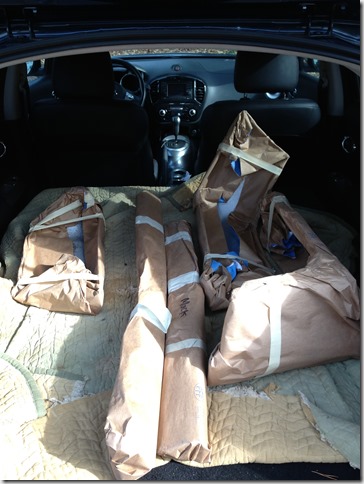 |
| Juke full o’ bumpers |
 |
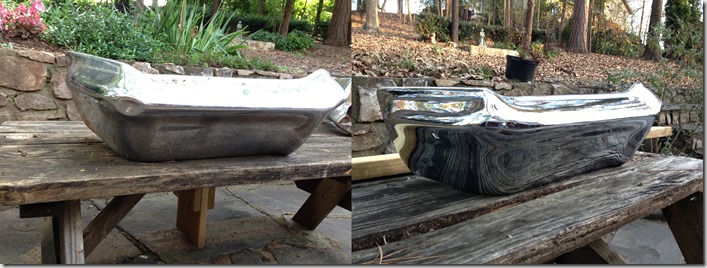 |
| Before AND After! |
Well, I reckon that’s about all for now. I’m hoping there is a storm coming after this quiet (…or at least a mild squall). Once the frame comes back from paint and body, work can begin on a rolling chassis. After that, we’ll just pop the body on and drive off into the sunset.
Kinda…
Something like that, anyway…
…
…
<sniff>


