It’s been right at 2 months since my last Blog update, and it’s been a very busy 60 days. Went to England for 10 days during that time, so that leaves 50 days of work. And I usually don’t work EVERY day on this heap, but recently it’s been kind of an almost every day thing. Let’s catch up, you and I, shall we?
At the end of the last post, the new AlterKtion K frame was mocked up in place, and I was able to roll the car off the lift for easier access to the dash to install the Classic Auto Air AC unit. As it seems to be with nearly every “perfect fit” component for a classic car, it didn’t fit perfectly. The template for the new dash holes was slightly off, and the thing is a PITA to mount under the dash. But it’s there, and that’s what matters, right? That entire experience appears to have been so frustrating that I didn’t even take any pictures of it.
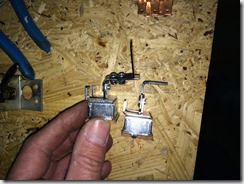 Oh, as part of that install, you have to modify the factory heater controls, including a new fan switch. Which of course didn’t fit. After phone calls (during which the Classic Auto Air guy was pretty convinced I was doing it wrong) and the exchange of photographs (oh, yeah, that won’t fit) they eventually sent me a new switch. Which was literally a bag of parts. Another phone call, and they sent me a complete switch. Which also did not work. So, I used the bag of parts, along with the other switches to make my own that fit correctly. Annoying, but it’s now done. Mine is in my hand, theirs is on the table. The switch they sent wouldn’t actually actuate, because it hit the dash. Aside from that, their “engineers” had it perfect.
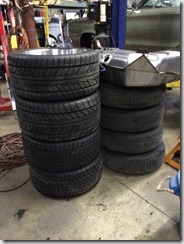 Soon after our return from England, I finally got a set of wheels and tires for the car. Not my final, perfect choice, but something that was close enough to fit, and get me On The Road. The new rubber is on the left, if you didn’t guess already. There on top of the old wheels is the fuel tank. In recent weeks, that was installed for the final time.
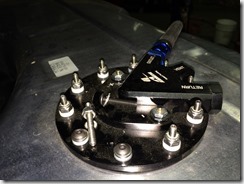
To improve the fit of the fuel tank, I replaced the studs to the rear of the Aeromotive Phantom setup with button head screws. This allowed the tank to tuck up about 1/4 more to the rear, and made for a more pleasing fit.
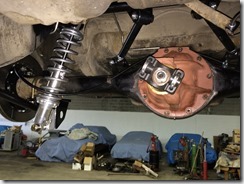
Also installed the center chunk of the rear end, and added the required gear oil.
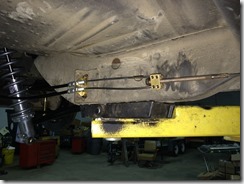
Managed to get the parking brake cables installed, and with a little modification, hooked it neatly to the factory mounting points and retained the ability to use the factory cable adjuster.
Also during this time (has it really only been 2 months?) the transmission went away for rebuilding, and returned, rebuilt, and the engine went to the machine shop for attention.
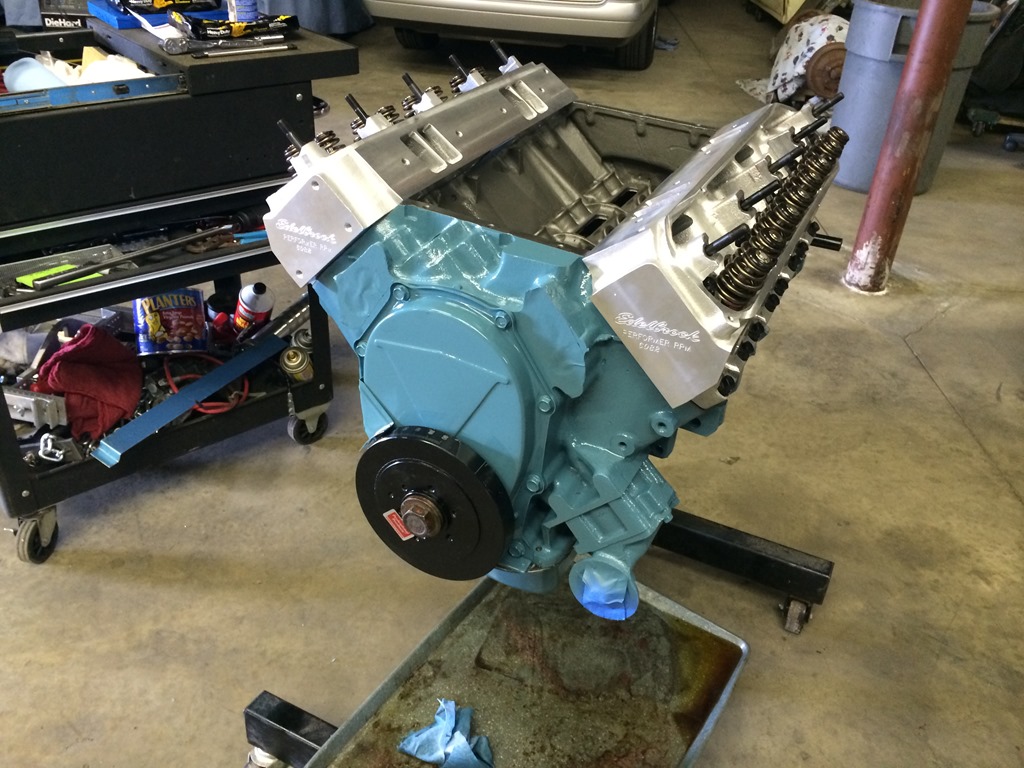
While the machine shop was doing their work, I swapped the springs on the new Edelbrock Performer RPM heads 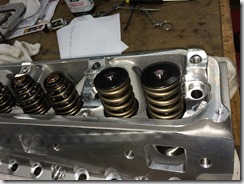 to something compatible with the hydraulic roller cam I had chosen. The new springs are on the left. This took about 6 phone calls, many emails, a lot of general research and a couple of mistaken purchases, but it’s finally correct. So, for future generations, here’s the formula. There are 2 options – one, you buy the Edelbrock heads with the correct springs for a hydraulic roller cam. For some reason, this is more expensive than the other option, buying the complete heads with the setup for the hydraulic flat tapped cam, and then buying the additional parts and doing this swap. Then I got 50 bucks for the Edelbrock springs and setup on eBay!
So:
Heads – Edelbrock Performer RPM 75cc heads, model 60829
Springs – Comp Cams 26120-16 “beehive” springs
Retainers – Comp Cams 795-16
Locks – Comp Cams 614-16 – these are the +.050 locks
Locators – Comp Cams 4696-16 – these are the .570 ID locators, to fit the Edelbrock stems
The locators were somehow the tricky bit – the Comp Cams folks recommended the wrong ones, and they didn’t index correctly @ the valve stem area. The edelbrock setup uses cups that index off the outer diameter, the Comp locators index on the ID. So, if Comp tells you to get the 4697 locators, that ain’t it.
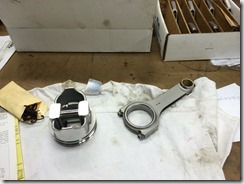
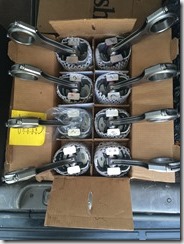 Once I got the large pile of parts back from the machine shop, it was assembly time! Pistons, rings, rods, all meeting in perfect harmony. Or something like that. I put them together, and transported them back to where the block was.
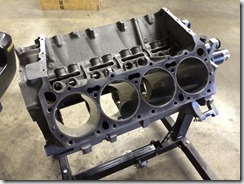
Hello engine block! Nice to see you all cleaned up, and bored .030 over!
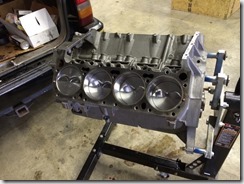 Here’s your old friend, Mr. Crankshaft, and some new pals, the Keith Black Pistons and Eagle rods! What’s that, Mr. Engine block? Why yes, Mr. Crankshaft DOES look a little different! He’s now internally balanced, and matched to the rotating assembly. Isn’t he handsome?
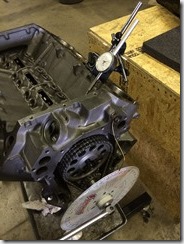
Installed and degreed the camshaft. 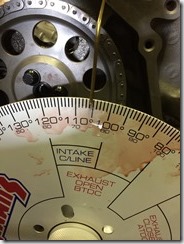 I like that kind of fiddly work, particularly when it ends up correct.
So that was the short block, done. Not pictured, lots of measuring, some work with plasti-gage, and installing the cam button, which oddly required some dremel work to clear the bolts on the camshaft.
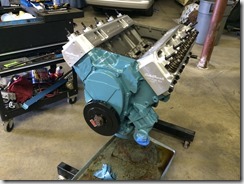
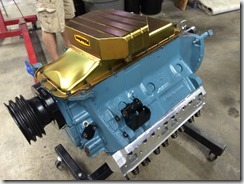
Then, cylinder heads, timing cover, paint and a balancer. Looks like an engine, pretty much. 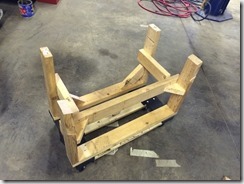
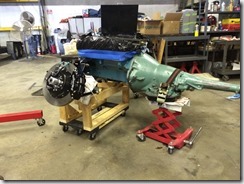
Along the way, I had built this little beauty – it fits perfectly under the AlterKtion K frame, so I dropped the car on it, removed the 4 large bolts holding the K frame to the car, and popped the upper ball joints from the spindles. Then, I dropped the engine on it, and mounted up the transmission.
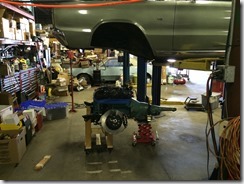 Check it out – it rolls! With this setup, I was able to drop the car onto the assembly probably a dozen times, to help with laying out wiring and plumbing.
 One more snazzy thing I learned along the way – the stock 440 oil pan is oddly small – something like 4 quarts. There’s a great option available, the “Hemi” pan, which increases the capacity to 6 quarts. I sourced that pan and its required oil pickup from the good people at 440source.com, painted it, and installed it.
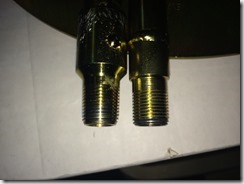
  Naturally, it didn’t work with the AlterKtion K frame, so off it came. The only “real” option became the Milodon 31580 “road race” pan, a fancy baffled setup that’s both expensive and of course requires its own special pickup. So, got those. Imagine my surprise and delight when… The pickup wouldn’t fit! YES! AWESOME. After some measuring and examination, it became apparent that the problem was the threads on the pickup. They were not cut correctly. For some reason, they were cut as the correct pitch, but with no taper, as is required for a “NPT” type fit. Idiots. Luckily, I was able to quickly source a 3/8 NPT die, and recut the threads. Then, as with every other oil pickup I’ve ever installed, cheap or expensive, I had to tweak (bend) it a bit to fit correctly. Annoying. But now it’s done.
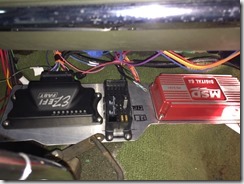
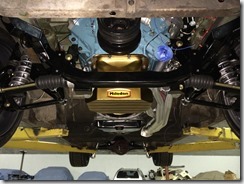 Also in this time I managed to: Install the hydroboost. Make the new wiring harness to supply power and connect the new ECU and MSD spark box. Get the wrong Wilwood caliper exchange for the correct one (they sent 2 Right front calipers, one in a box marked Left..) Also got the fans and shroud mounted to the radiator, realized the fans were too deep to clear the (junky, ugly) Classic Auto Air compressor setup, so replaced the fans. I bent up a new set of transmission cooler lines, once I realized that the factory replacement lines weren’t going to work because.. they’re shit? I also managed to get the engine fired up,
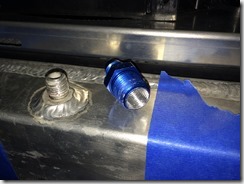 and discovered a transmission cooler leak at the radiator fittings, so had to have new fittings attached (Thanks, Wayne!).
Oh, that’s right, I fired up the engine. (willing, responding with a roar)… It fired right up, once I connected the power to everything.
Then, on a subsequent start, it started making a horrible noise from deep inside.
Horrible. Noise.
I went home, dejected.
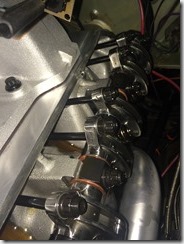 Back the next day, I rechecked the valve lash on the side where the noise appeared to be eminating, and… no change. Also dejected. I then removed the drivers side valve cover and… Elation, relative to my previous mindset – there was an obvious issue – a jumped pushrod, sitting at the base of the rocker arm. Removed the arms, removed the pushrod. Inspected, the pushrod was barely even marked, and still arrow straight (buy moly pushrods, kids!) so I cleaned everything up, reinstalled, reset the lash and fired it up. Ahhh…. success. Nothing but a rumble, and the sewing machine sounds of a roller valvetrain. Joy.
Now, of course, this catches us up to this weekend, where I and the car should be at the Atlanta Motorama, basking in the glow of admiring glances, and bored by the tedium of answering questions (Yes, I’m leaving it this color).
Instead, the car sits, quietly waiting for an updated engine management computer. As of last week, the engine wouldn’t run for more than 2 to twelve minutes at a time before shutting down. This is some kind of issue with the ECU, and the good people at FAST are expediting a repair for me, so that I can get this thing tuned and tweaked in time to put a few miles on it prior to the Power Tour.
There are other things I’m forgetting, I’m certain – oh, like, I installed the exhaust system. And the Overdrive arrived! So…
More to come, space fans.

