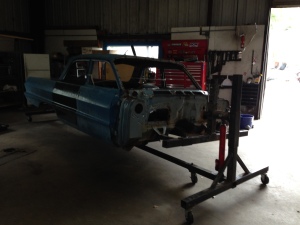
When last we spoke, oh most audacious of Internet denizens, I recounted the harrowing tale of pulling a car apart with a forklift. In today’s most likely useless blog post, I shall regale you with feats of frame fortification and sphincter clutching travel anxiety.
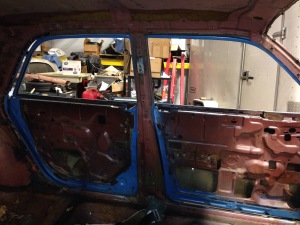
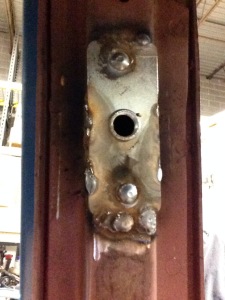
OK, first things first. In a nod towards greater safety, I’ve decided to install shoulder belts in the Wide Ride. Originally, of course, lap belts were an OPTION on this car and retractable shoulder harnesses were a luxury enjoyed only by Heywood Floyd and the rest of the Tycho boys. The biggest modification required to facilitate this addition is to have an anchor point welded to each of the the ‘B’ pillars. This is where the upper portion of the shoulder belt will mount. I consulted with shop welder Wayne and he agreed to perform this task for a nominal fee. The results are thus:
Right! Safety upgraded. NEXT ITEM!
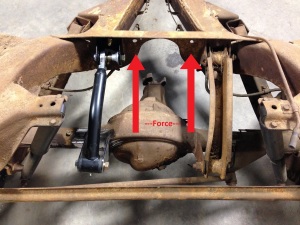
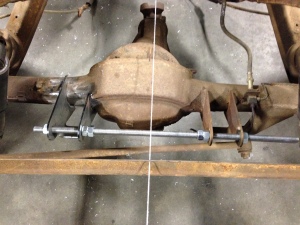
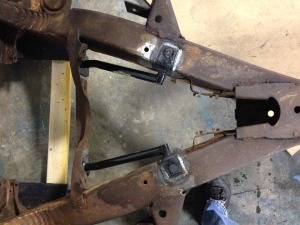
One of the weaker points in the old Chevy X frame design is the rear suspension, so we’re going to need to make a few improvements there. Chevy used a three link system. That is, two lower rear trailing arms and a single upper trailing arm. Now, the purpose of the upper trailing arm is to keep the axle housing from rotating along with the wheels. As the rear wheels roll forward, the axle housing wants to follow suit and roll forward as well. The upper trailing arm takes that torsional force and transfers it to a cross member, a-like so:
The right side control arm is obviously the old, stock arm. One of the problems with the factory set up is that since there is only a single, asymmetrically mounted upper arm, the torsional force is applied to the cross member very unevenly. That really wasn’t a problem when this car’s power plant was a 120 HP inline six, but with the 350 HP LS1, there is a very real chance that the axle could tear itself loose from the cross member and that would be…bad. The solution is to attach another set of brackets and add another upper arm, all of which you can see mocked up badly in the photo above. Interestingly, X frame cars that came from the factory with the big 409 engine included this modification. That makes the job at hand a little easier.
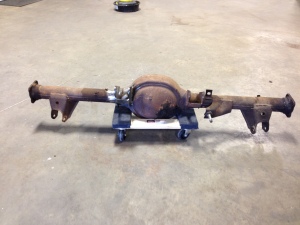
The first step was to bolt on a new bracket to the left side of the cross member. Easy peasy, since Chevrolet had kindly stamped a mounting pad in the correct spot 50 years ago. Next, a bracket needed to be welded to the axle housing. That was a little more difficult. I noodled on how to accurately measure the bracket spacing and how to hold it in place for welding. Eventually, I hit on the idea of using a piece of threaded rod that was anchored to the existing bracket. Once I got everything close, Jim came by, measured everything 743 times, and set the bracket up just so. The string, by the way, is to mark the frame center line.
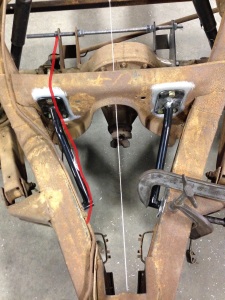
OK, remember that rotational force we were talking about? Well, we’ve gotten it evenly transferred to the cross member, but now there’s a new problem. That cross member is not a very stout piece of steel, so there is a chance it will bend and/or tear when the going gets heavy. The solution is to brace the cross member itself. Like…THIS!
By adding brackets in front of the upper control arm mount points, we transfer the force placed on the cross member forward to the big, beefy, boxed frame. Once again, the red line is force!
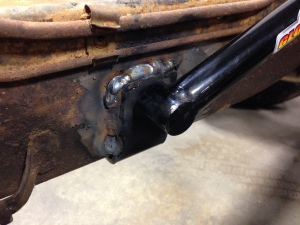
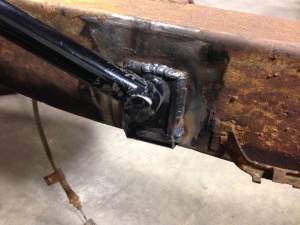
I procured the brackets from a big name after market suspension company some months back. The one on the passenger side went in just fine but the driver side was in no way correct, as the pad that was supposed to be welded to the frame was instead floating in space about an inch from it. Returning the part was not something that I really wanted to pursue because: 1) It had been so long since I purchased them and 2) the exchange process would have taken longer than I really wanted to deal with. The solution, then, was to cut the bracket at its base, re-position the arm, and weld everything back into place. I talked to Jim about all this a bit and by the time I got to the shop the next day, he had cut the bracket, measured everything 743 more times, and had all the parts ready to weld up (as you can see above).
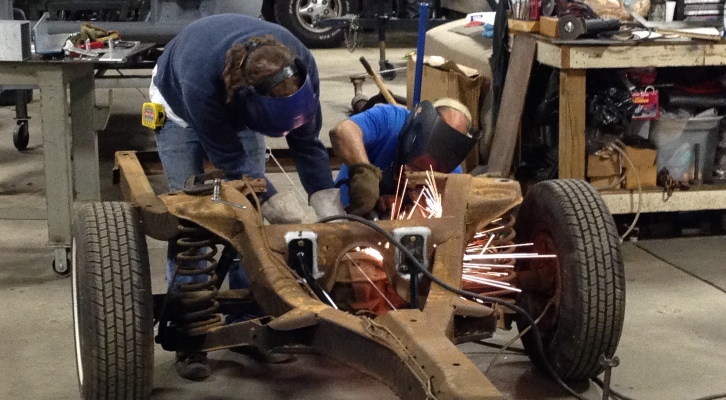
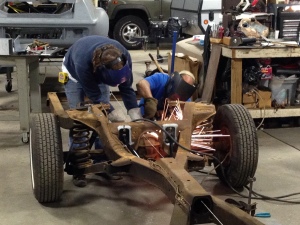
All that remained was to commence with the fusing of various metal objects, which Wayne and Jim accomplished with aplomb.
The results:
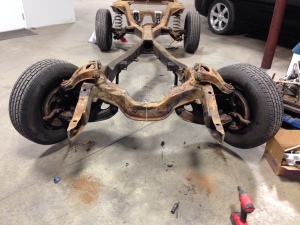
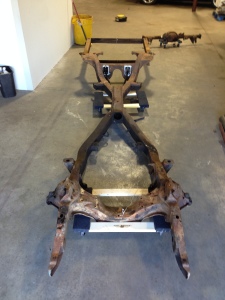
Once all the excitement was over, all that was left to do was to strip everything off the frame to prepare it for media blasting. This is not a particularly exciting process, so let’s just cut to the chase.
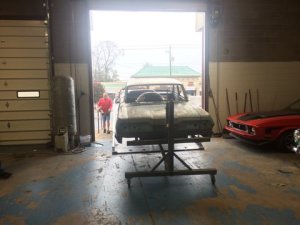
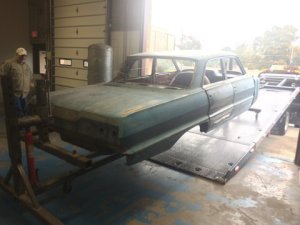
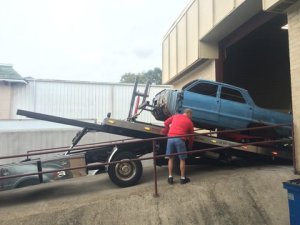
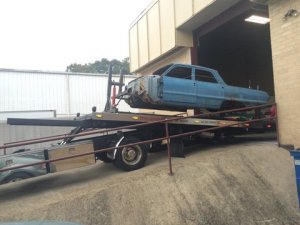
OK, then. What’s left? Well, the next short step was to get everything around the corner to the body shop where all components could be wet blasted as a precursor to actual paint and body work. No big deal for the frame, but the body…well it would have to be transported on the rotisserie. Moving a giant car body suspended between two mount points when it’s normally attached to a frame with eight? Horrifying. As an added bonus, when I called to set up the tow, the tow operator asked, “If I hook up to the rotisserie, will your casters fall off”? This did little to reduce my anxiety.
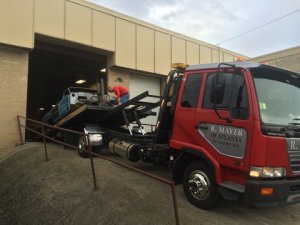
The moment came and the rotisserie/body amalgam was pulled up on the roll back as the mounting arms bounced around disconcertingly. No casters fell off. The rotisserie wobbled unsteadily on the flat bed as Jim giggled uncontrollably. Once everything was flat again, the driver spent quite some time strapping everything down nine ways from Sunday. This did help to reduce my anxiety, although I could still imagine the helicopter shot of a clapped out 63 Chevy body strewn across Chamblee Tucker Road. Jim and I followed behind the truck as it backed up traffic for the half mile journey to the body shop. Good. Good. Drive as slowly as you need. Just get there.
Happily, we did make it there in one, un-mutilated piece. Jim suggested that we hatch an alternate plan for the return trip. I wholeheartedly agree.

