
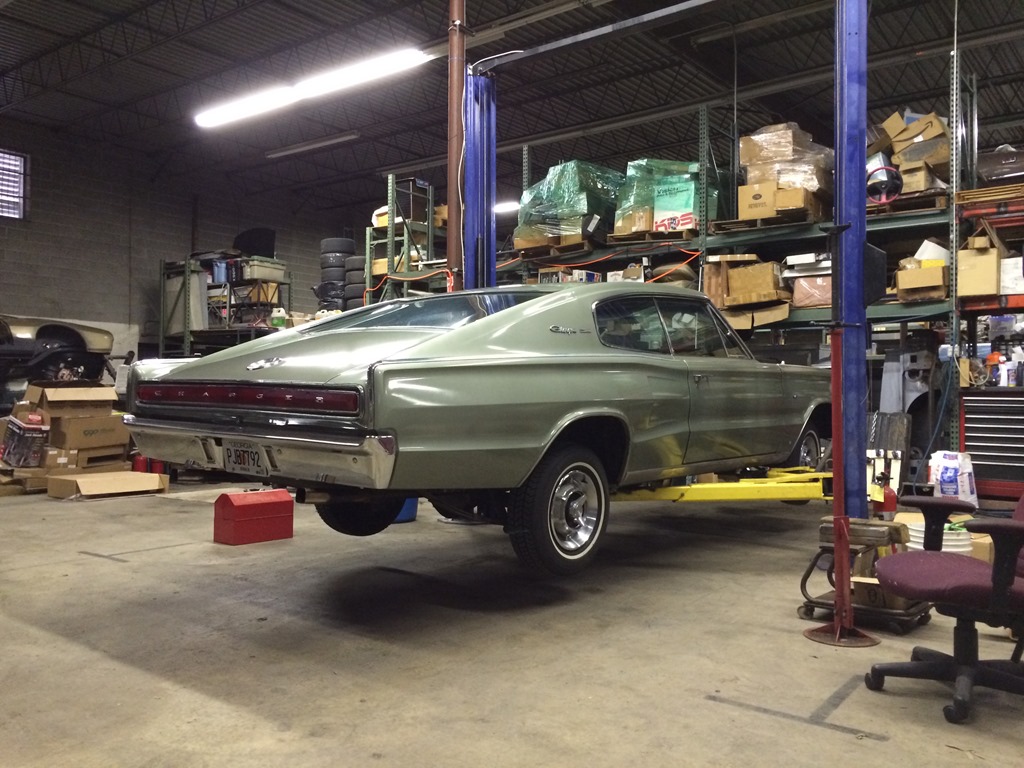
As previously threatened, the Charger has been moved to The Bunker for the next phase of Operation Power Tour Preparation.

 Here is where the charger will stay until, well, it’s ready to not stay here. I’m not generally a waster of time, so as the weather has permitted (it’s been very cold here, and The Bunker isn’t heated!) I have been cracking on.
Removed the fuel tank, and revealed a very clean and shiny underside of the car where it had been. Once again, this car proves itself to be clean and dry, just like you expect from a Western car. 
The tank itself is also remarkably clean – inside and out. I did find the fuel sender float to have gas in it- probably explains why the gauge read low, ‘eh? Ordered a new sender; I’m hoping it’s not a chinese piece of crap. If it is, I may just swap over the float to the original part. With the fuel tank (and fuel line) out of the way, I could start making some sparks. Whee!

Avid readers (as if!) might remember the vestiges of trailer hitch attached to the rails on the car. They’re not in the way, really, but they are ugly and don’t belong, so I am removing them.  Did the driver’s side first; over an hour of cutting, grinding and general annoyance, and it came off.

 Then, I dropped the rear axle. Cleaned it a bit with the wire wheel, and inspected it. Yup, it’s a rear axle. Subsequently, bolted in the new RMS Street Lynx parts and test fitted the new 4 link. Sweet – It fits!
Note that the upper link attachment point on the axle tube is far enough inward that it’s actually straddling the vent tube location, which is where the factory brake line also attaches. I’ll have to make up a new attachment point for the line, but the vent tube I’ll just leave there. Seems fine and dandy. 
Then Wayne was nice enough to drag his weldin’ machine over from his side of the Bunker and permanently affix both the upper link bar and the rear axle tabs. I have the ability to do this, but he was present, available, professional and had a long ass cord to plug his machine in to… Thanks, Wayne!

So, now we have 4 links. Plus 2 sweet Viking double adjustable shocks. Looks pretty neato, if nothing else! Hopefully it does somethin’, too.
I slipped in the new axles and mocked up the new brakes. Large. And they seem to fit well, as I expected.
 Next up, some measuring for rear wheels and tires. This 275/35 – 18 fit way too easily on a 10” wheel. I think I can probably fit an 11” wheel back there, if the offset is perfect. Otherwise, the 10” will give me plenty of wiggle room, and I can certainly fit a larger tire – 295, at least.
So, that’s what’s happened in the last couple of weeks. Really, that was all done in about 4 days, and then it snowed again, so… I didn’t do anything this week, really. Next up, we move to the front of the car… That should be fun, dropping out very large and heavy parts, spilling fluids, bolting together shiny new stuff, and generally Getting Things Done. Now I leave you with 3 thrilling videos, the 3 days when most of the work got done!
Well, kids, until next time from Chargerville – Conform or be cast out!